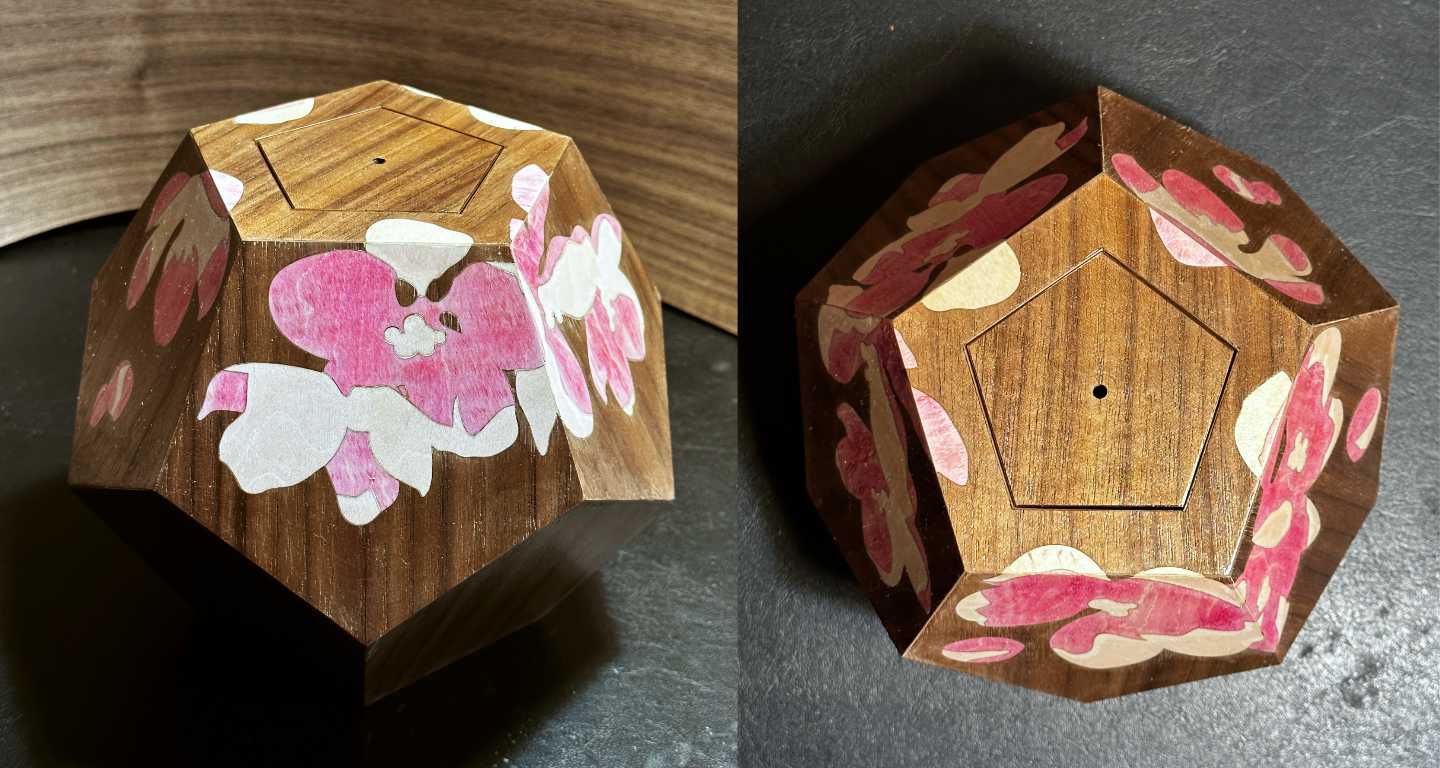
Dodecahedron Blossom Box
Now there's a catchy title for a post, right? I was going to change it, then thought, no, why not have a difficult title to reflect a difficult project?
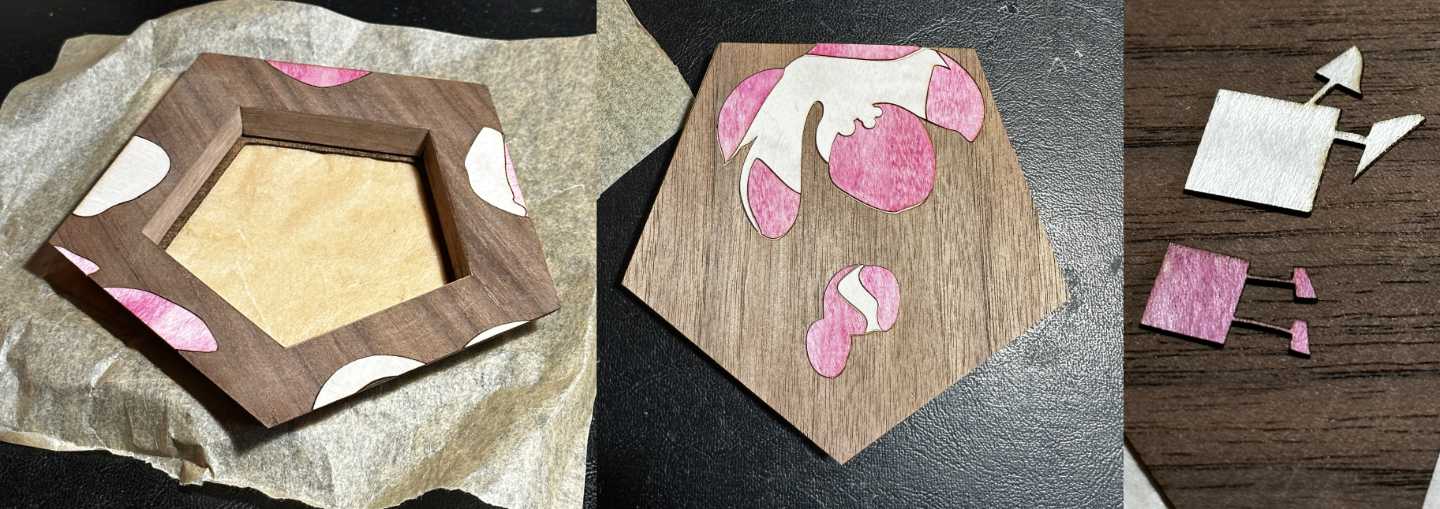
After doing the Winter Leaves Box I wanted to do something more about spring. I like cherry blossom designs and did quite a few sketches using more formal traditional motifs, but decided they weren't right for this; the dodecahedral form is, er, formal enough. I wanted something more abstract, impressionistic to balance it. I was going to use two colours and I'd mostly have to stick to large shapes that would hold up when cut out of wood. I also didn't have any wood veneer in pink, so I stained some myself. I have decided that I like the result, even though it wasn't as even as I hoped!
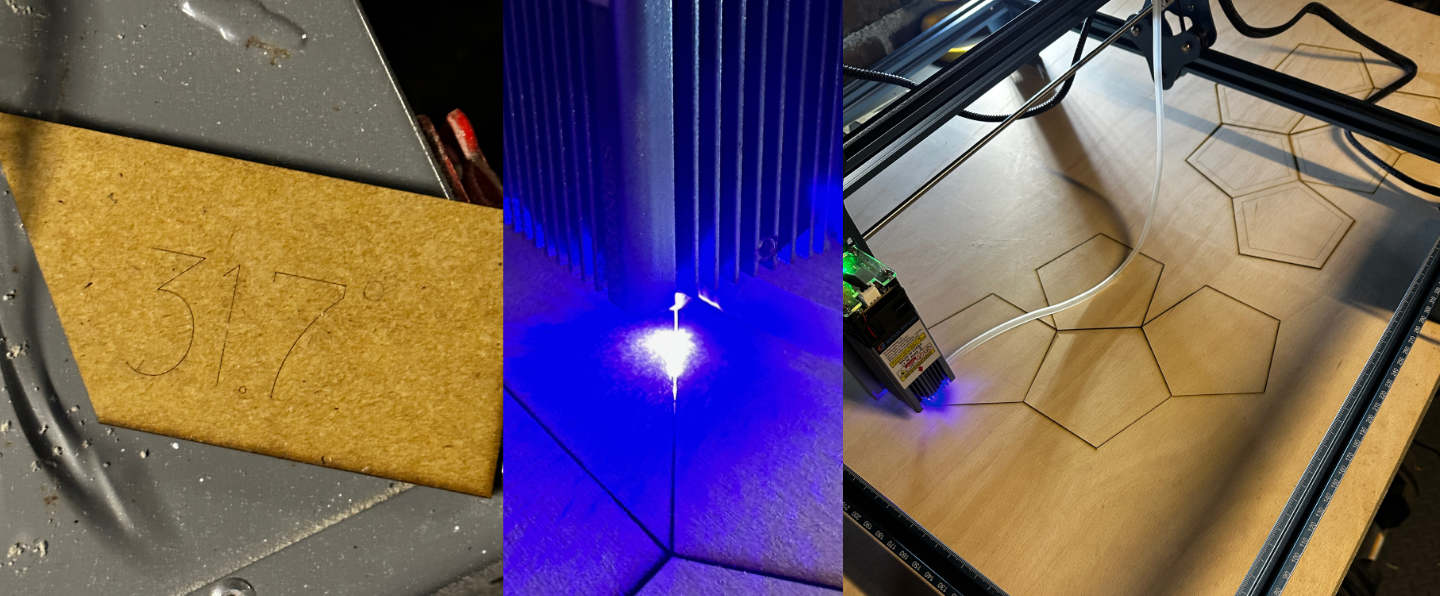
I knew from the start that this was going to be fun and interesting, and frustrating. I'd made a dodecahedron out of paper, but you just fold that. For wood, you need to bevel the edges, and for a dodecahedron that bevel angle is 31.7° (if I'm looking at the correct bit I wrote down). I made many, many mistakes. I think that's the correct angle. I did get it right in the end, but I have a serious problem reading and writing numbers and I did one piece (thankfully only one) with a bevel of 37.1° because that's the same number, right? and even now I'm having to cover bits of the screen to make sure they're in the right order to write this post. Ho hum. Got there in the end! I made a jig so I could set my belt sander to the correct angle.
I sanded all the pentagons so they'd have the right edges, and did a test putting them together using an assembly jig I'd made. It would make a nice fruit bowl.
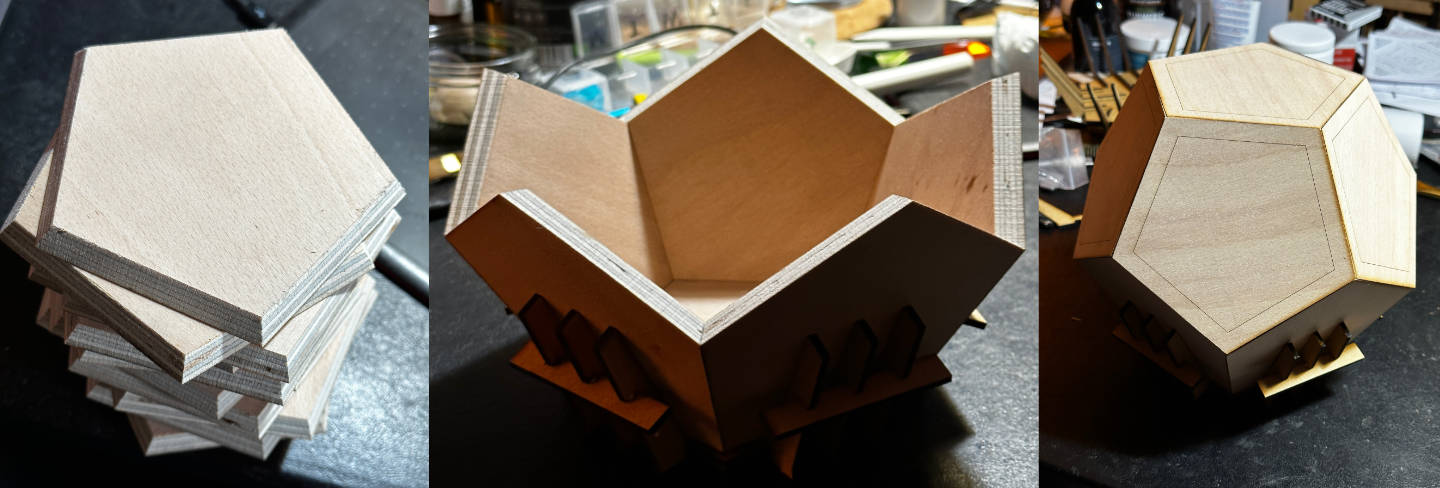
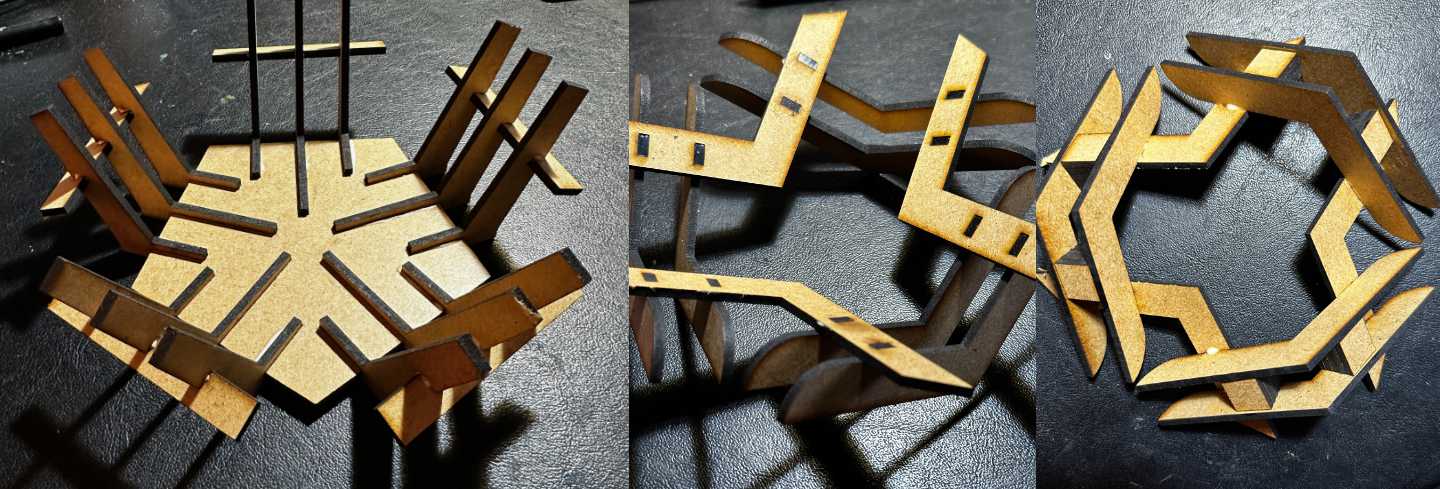
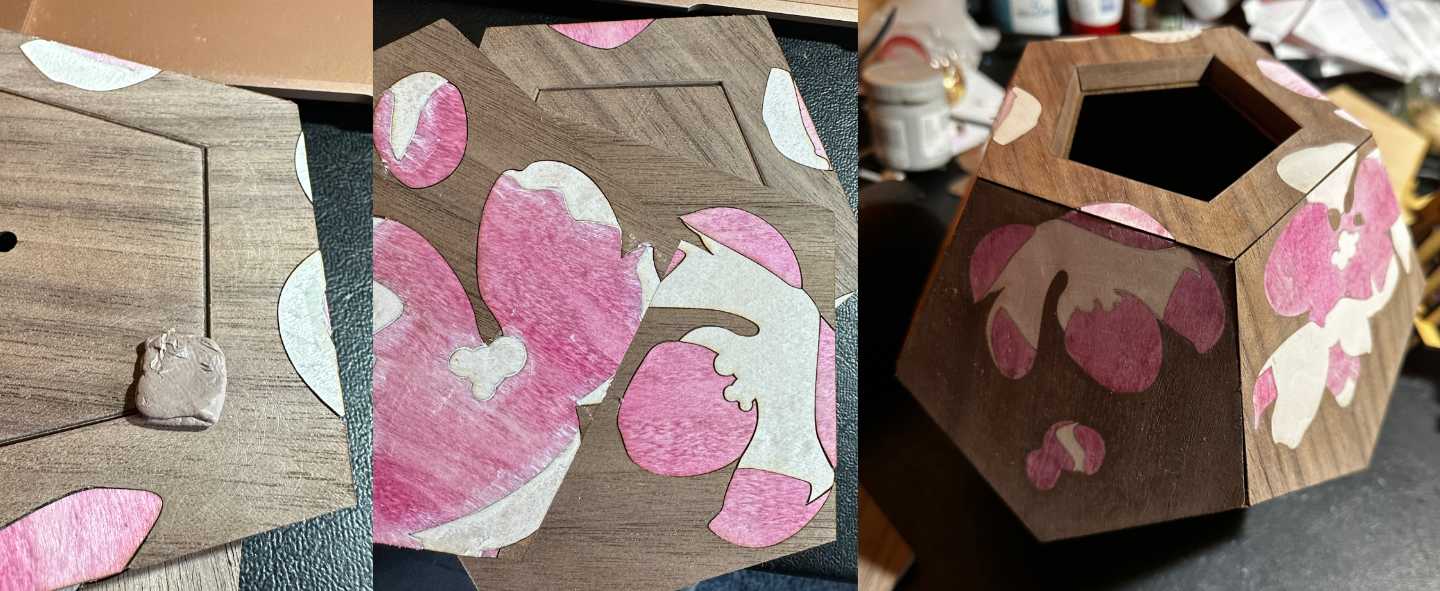
I made three of these assembly jigs. The one on the left is the one that worked. The one in the middle I used the wrong angle again and the one on the right was an idea I had of having the jig on the inside of the box. I'd rather the inside jig had worked better because it would have let me align the corners much more precisely.
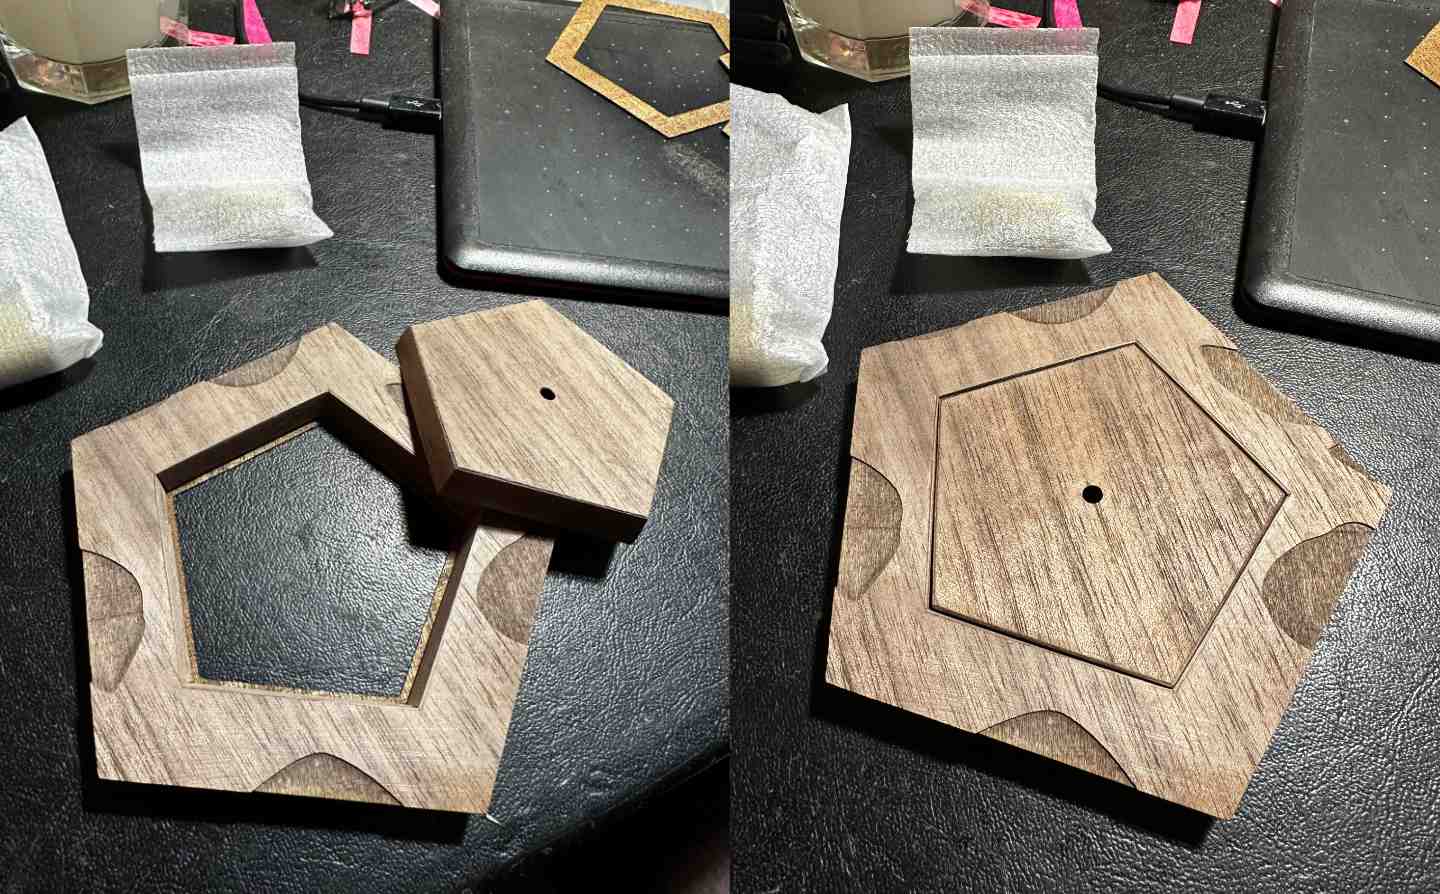
The lid was a special piece. I did think of having the whole pentagonal top piece be the lid, but wasn't sure how neat that would feel or whether it might weaken the box. I went for the more challenging route of course. I am pleased with the end result, and annoyed I didn't take more pictures. There's a veneer layer on the bottom of the rim that has a very slightly smaller hole. I then used wood filler (yes) to create a slope from that to the opening at the top. That's something I could have cut with the right tools directly out of the plywood, but I haven't got them yet, so. I then veneered over that slope with the walnut I'm using for the rest of the box. The lid itself I bevelled to the same angle and then veneered the whole thing. It fitted pretty well, but just to be sure I added an extra (thicker) bit of veneer to the underside of the rim as a ledge.
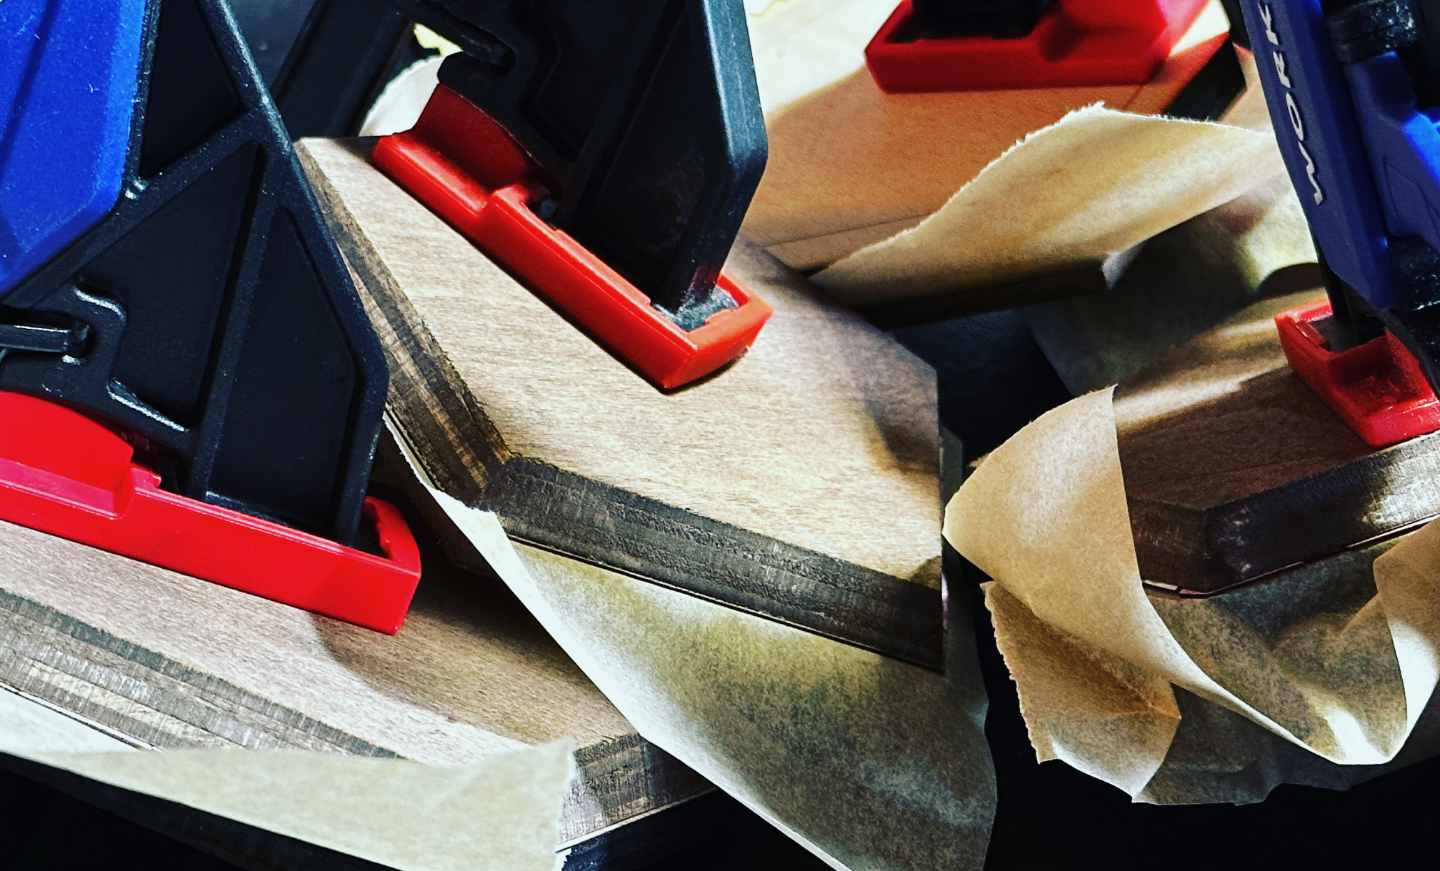
I'd laid out the cutting for all the veneers in Affinity Designer, then laser cut them, then lost a few bits and realised I'd left a stray shape in the middle of a petal. So, some recutting, some "I just have to accept this" moments. The recut bits I made with little connectors I could trim off with a scalpel. Gluing all the veneers to the pentagons was reasonably straightforward (like the Winter Leaves Box I used Titebond 'Cold Press for Veneer' - not an ad, it's just what I used). One super amazing handy hint I can give anyone is to use kitchen parchment paper on top of the veneer when clamping or pressing. It doesn't stick to any glue seeping out.
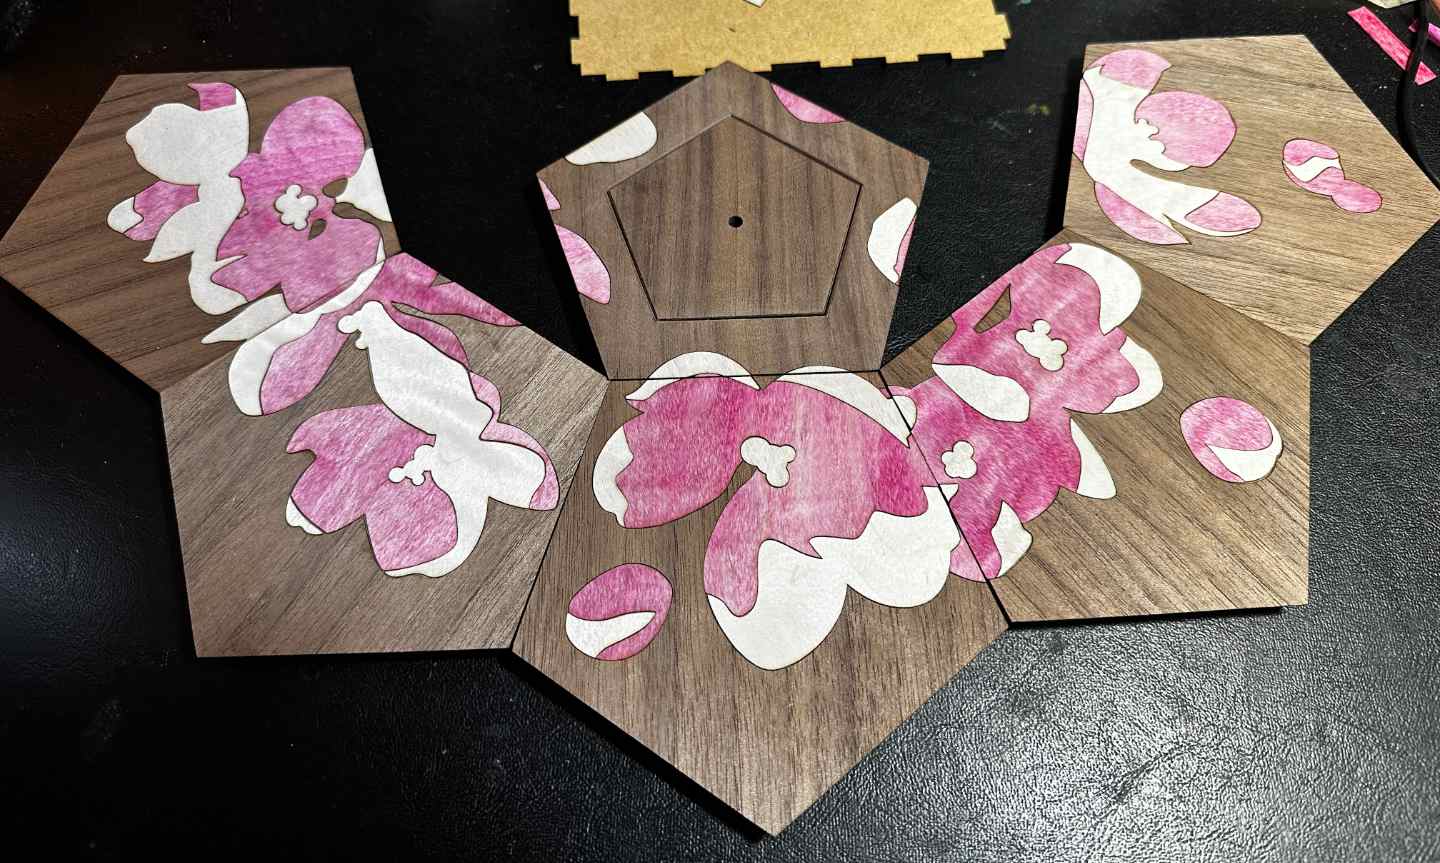
So there, all glued and ready to assemble.
Then it was 'just' to put it together. Now, one thing that caused a problem here was that I'd made the veneers a tiny bit larger than the pentagons so there would be a small overhang I could sand/trim to a bevel when I assembled the pieces. That mostly worked, but I am not a machine so there was some variation and some of the pieces weren't as perfectly aligned as I wanted. I needed to use veneer wax on some of the edges and vertices of the box. As you can see, it's a perfect match to the unvarnished wood. Oh boy. Yes. Varnish doesn't change the colour of wax in the way it changes the colour of wood. Sob.
And here it is. If you look closely, some of the edges so a bit paler, a bit less neat. That's the wax. Ah well. Onward and upward. I'm very pleased with the end result. I haven't quite finished it because I still haven't decided what kind of handle to put on the lid. I might make one.