
Emboss!
I've seen a few nice examples of embossed lettering around lately on Instagram so had a look to see how to do it and have a go myself. This is the tutorial I found that had the clearest instructions, though I'd already decided I was going to use my laser cutter instead of a knife. I hate using blades, they scare me. I did this one using some 1mm acrylic I already had, though I think in future I'll use some card if I can sort out the soot problem from the laser cut edges.
First, I drew the lettering in Affinity Designer and exported the vectors to Lightburn. The thin acrylic meant it cut very quickly though make sure you ventilate the space really well, the fumes are not good.
I rigged up a lightbox using a USB light I've got, a couple of books and a piece of glass from an old clip frame. I taped it up using some very low-tack frogtape to stop it shifting around. The paper itself is some cotton rag Khadi paper which is thick and soft enough to take the embossing well without tearing. For the tool I used my bone folder. Everything worked out pretty well!

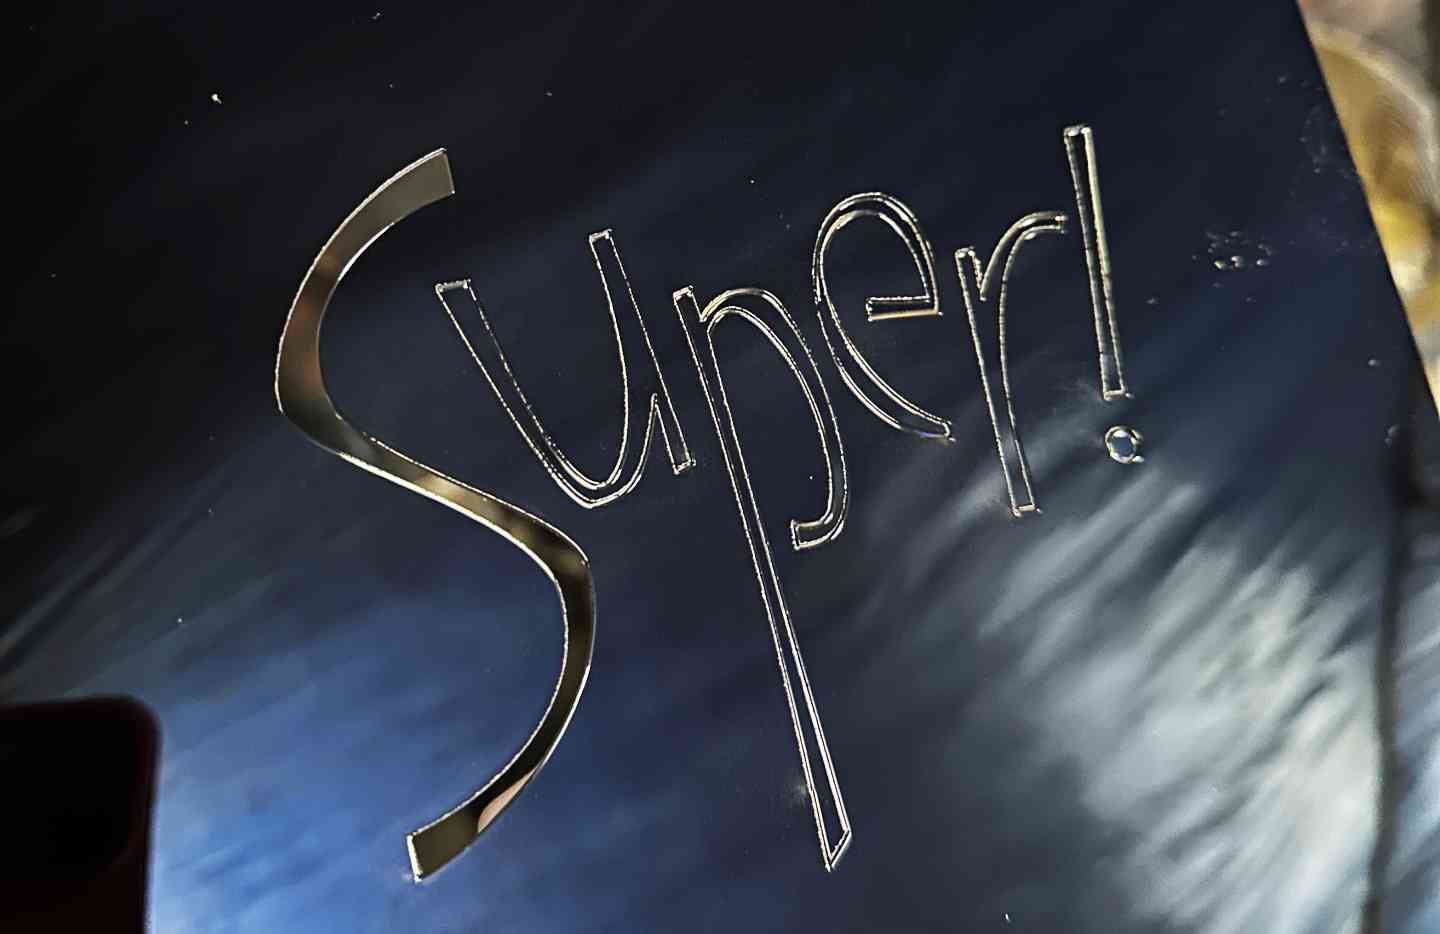
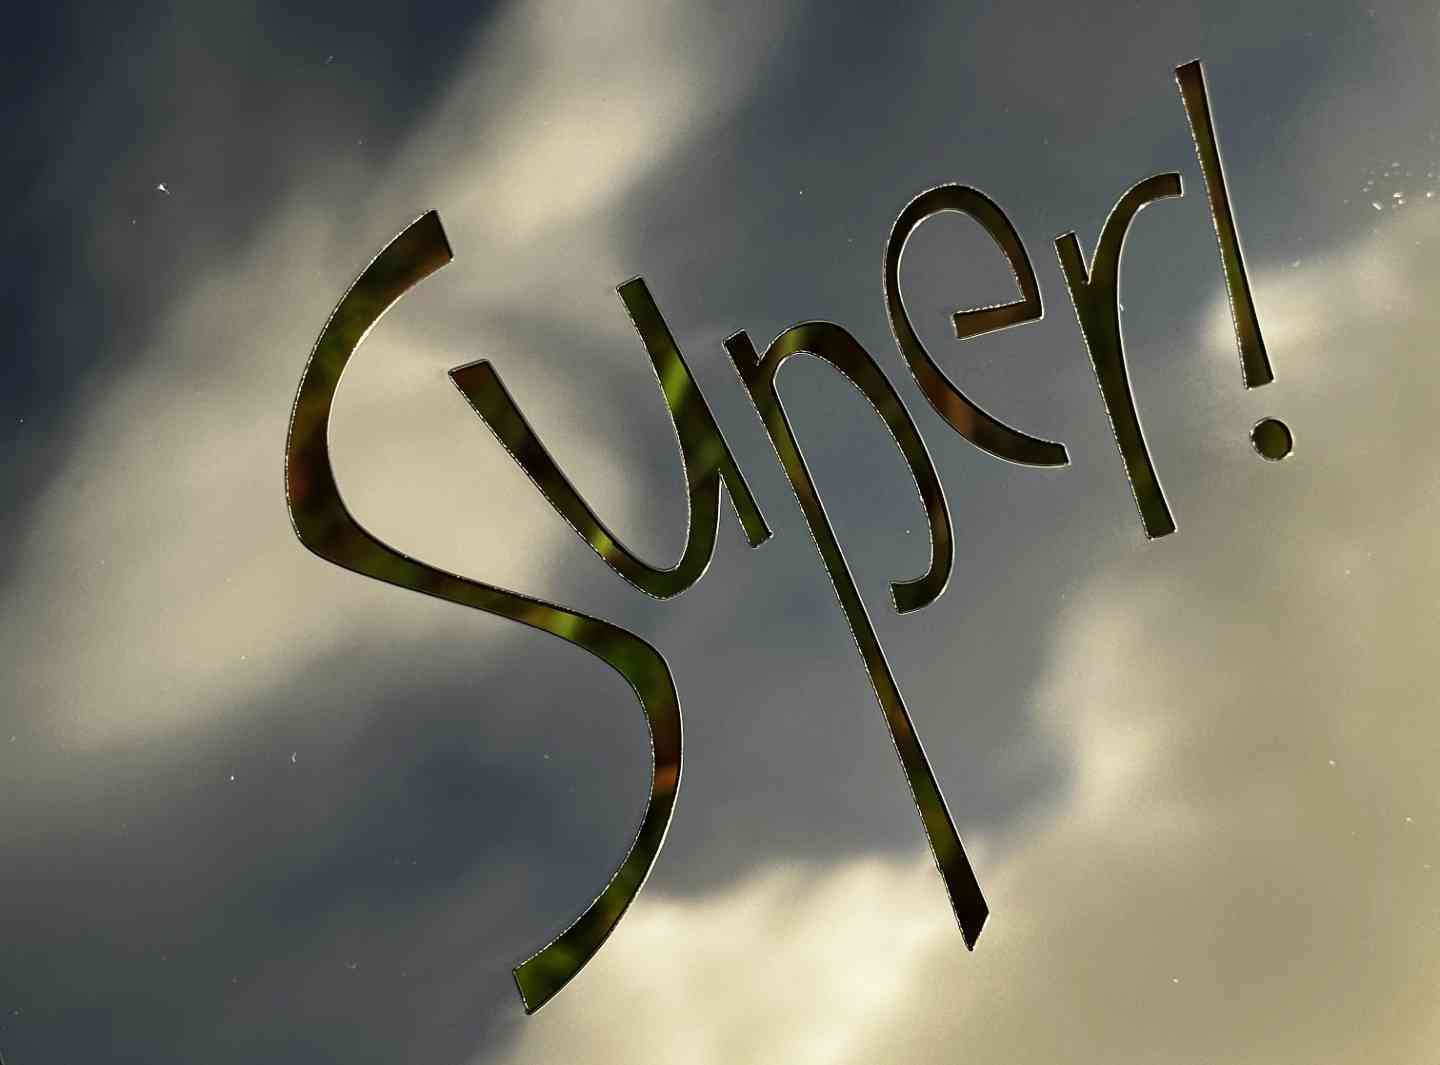
I was pleased how cleanly the edges cut and that the acrylic sheet didn't warp.
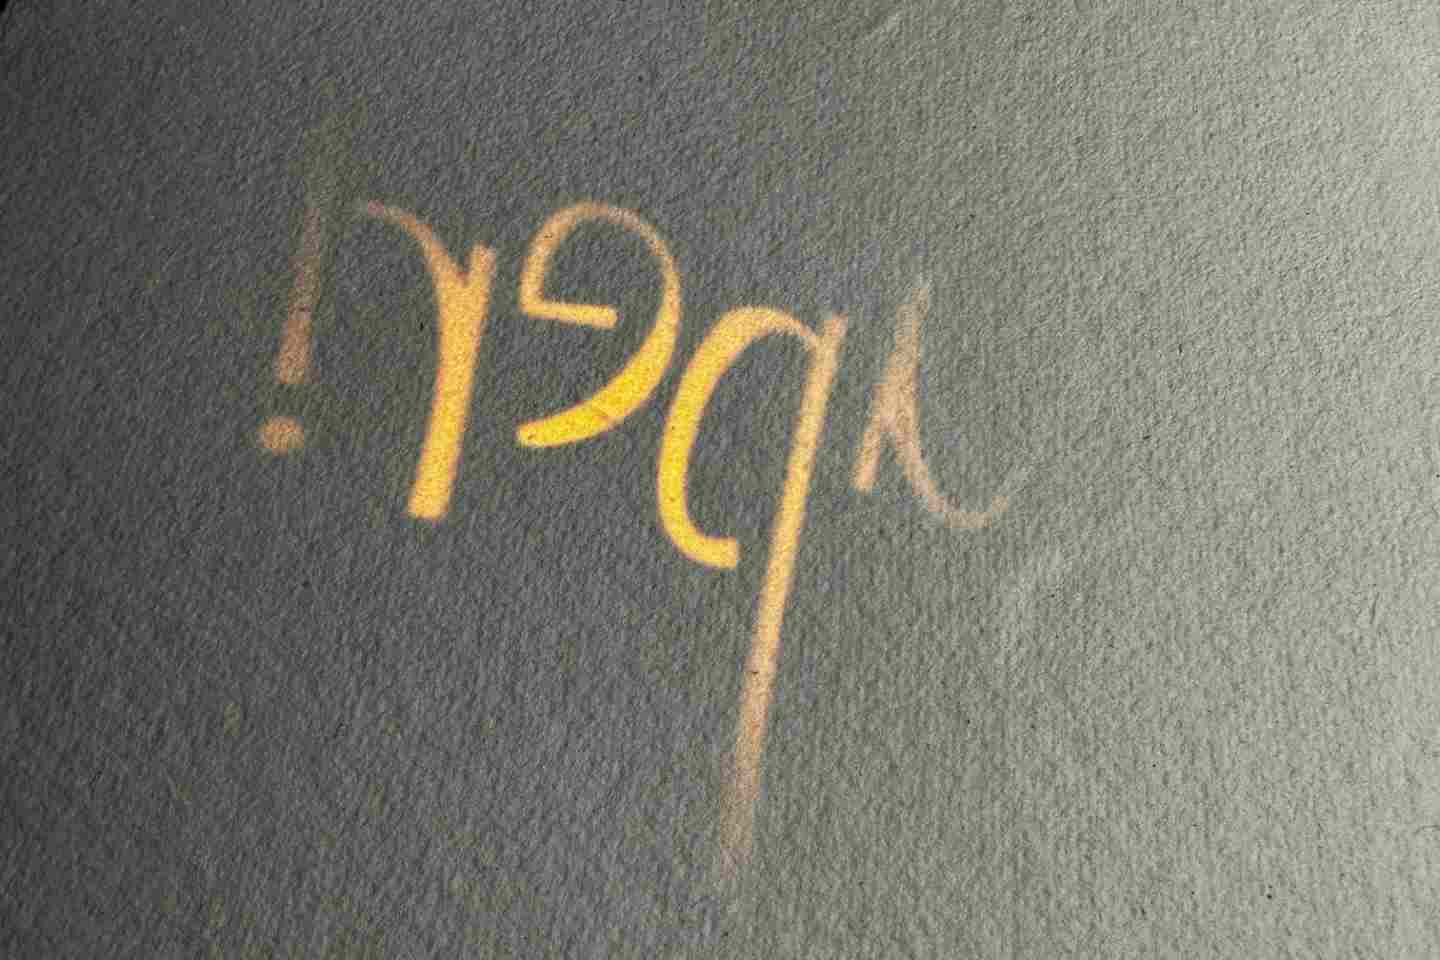
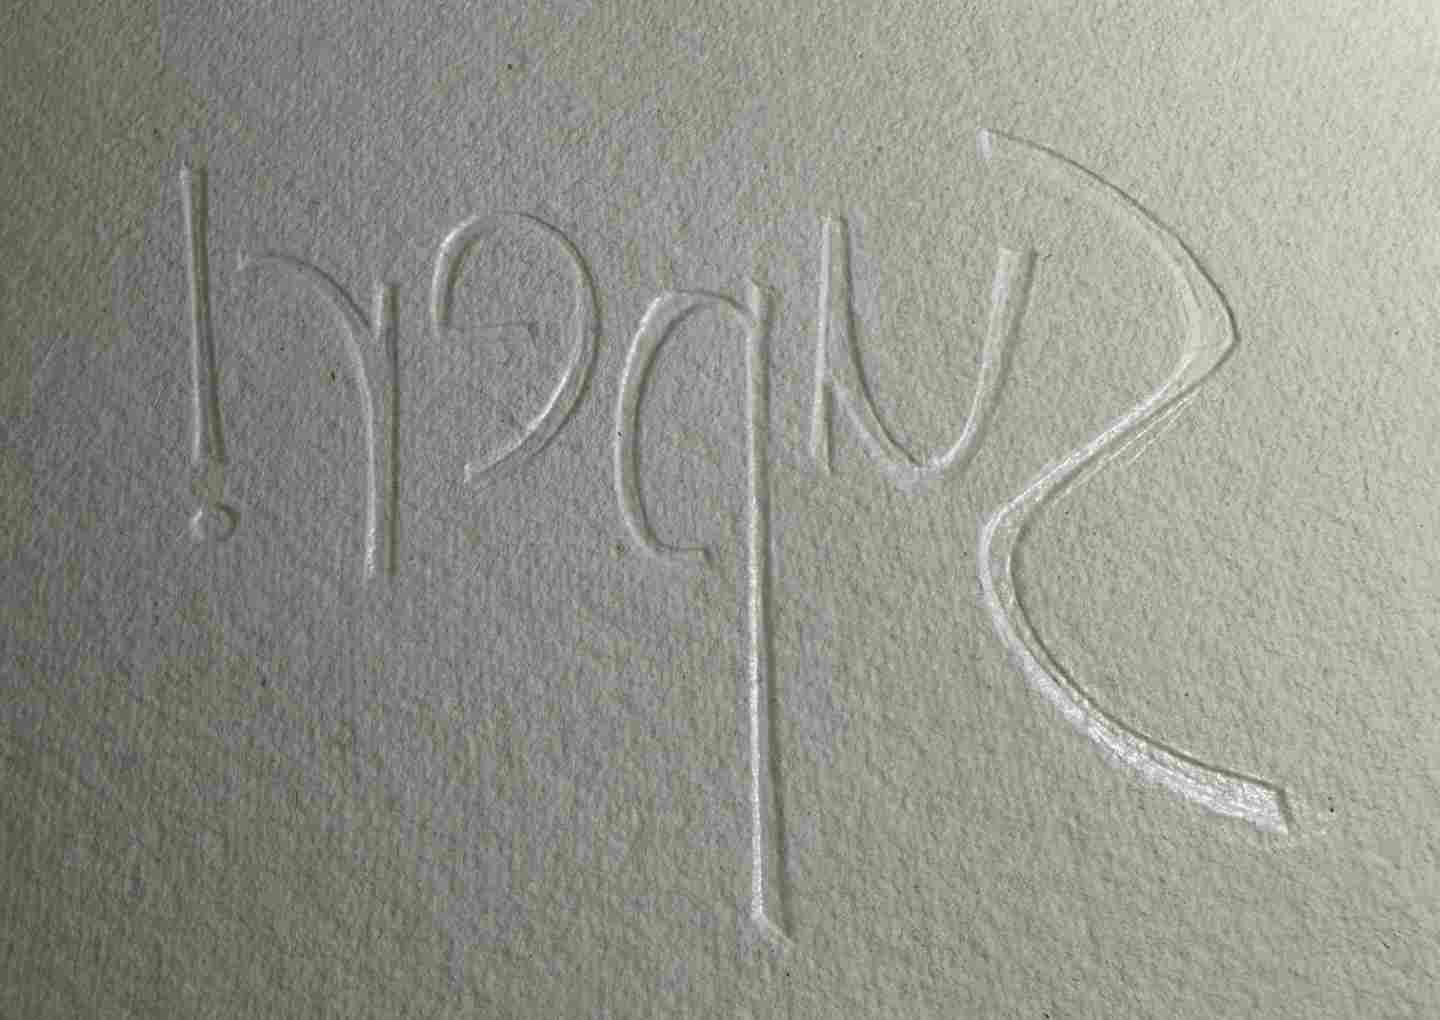
The tutorial suggests not going over the main body of the letters but I did rub over them with the blunt end of the bone folder, it crisped up the edges and gave a roundedness to the emboss that I like.
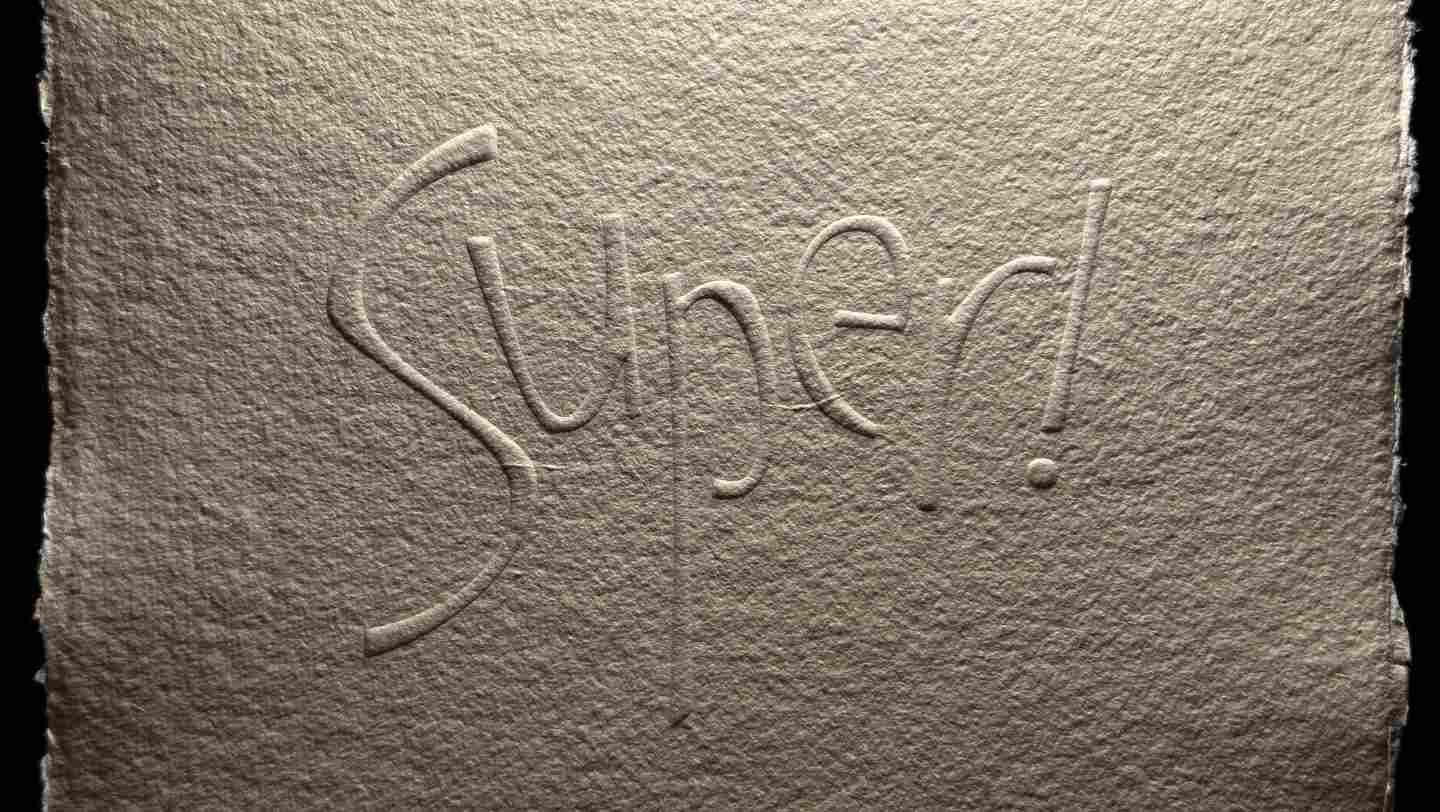
I was really pleased with how well this worked. It's not often I do something and the first attempt just works. That sounds a bit 'woe is me' but usually things take a bit more figuring out than that.