The Workshop
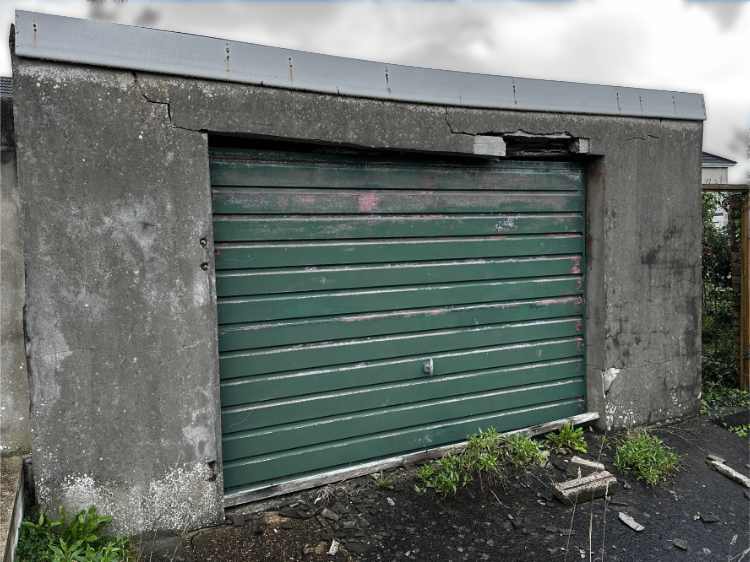
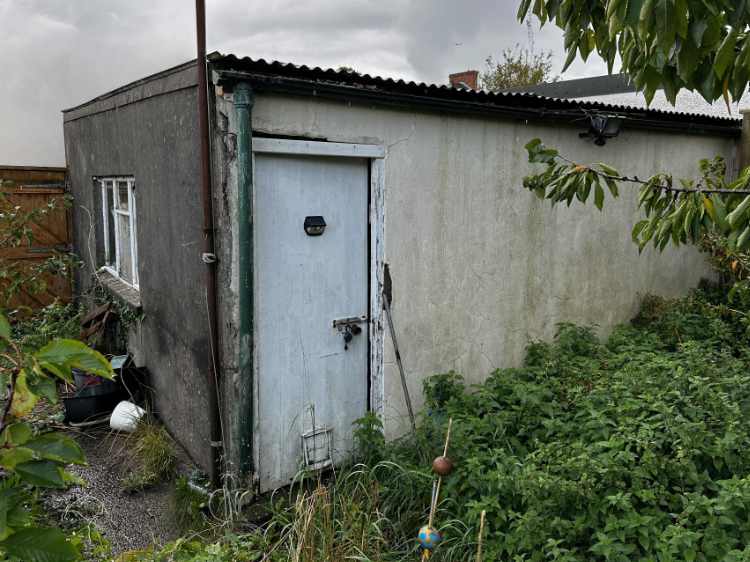
The garage at the end of the garden was not well lit, not insulated or heated and most definitely not weatherproof, but for many years I used it as a gym and workshop anyway. I thought I'd get it done fairly quickly after we moved in, but I eventually got tired of saying 'when the garage is done' when talking of projects I wanted to do. I've written up lots of things I've made in there anyway, but it's always been a struggle. The place was crumbling, actually literally: I went in one day to find a chunk of concrete had broken away from the lintel and was sat in the middle of my squat rack. Neighbours gently mentioned how there was a crack in the back wall and that the roof was sagging. It was time something got done.
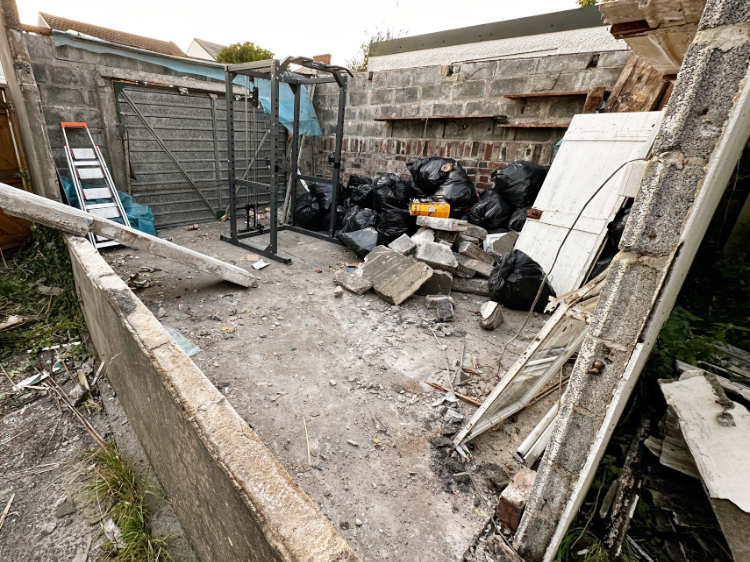
So September 2023, I got a builder in who'd built something for next door, it looked OK. He said he could do it. I said good! And so demolition started. I was aiming to keep as much of the building as I could, but the roof and part of the walls were beyond saving. The one weirdness in the whole build was that my power rack was going to stay within the walls for the whole build. I could have dismantled it but I didn't fancy my chances undoing the bolts after this amount of time. It's cumbersome, too big to go through the door, but I can lift it and move it around. I can when the roof isn't resting on it. Squat racks are good, but I don't think they're meant to be structural!
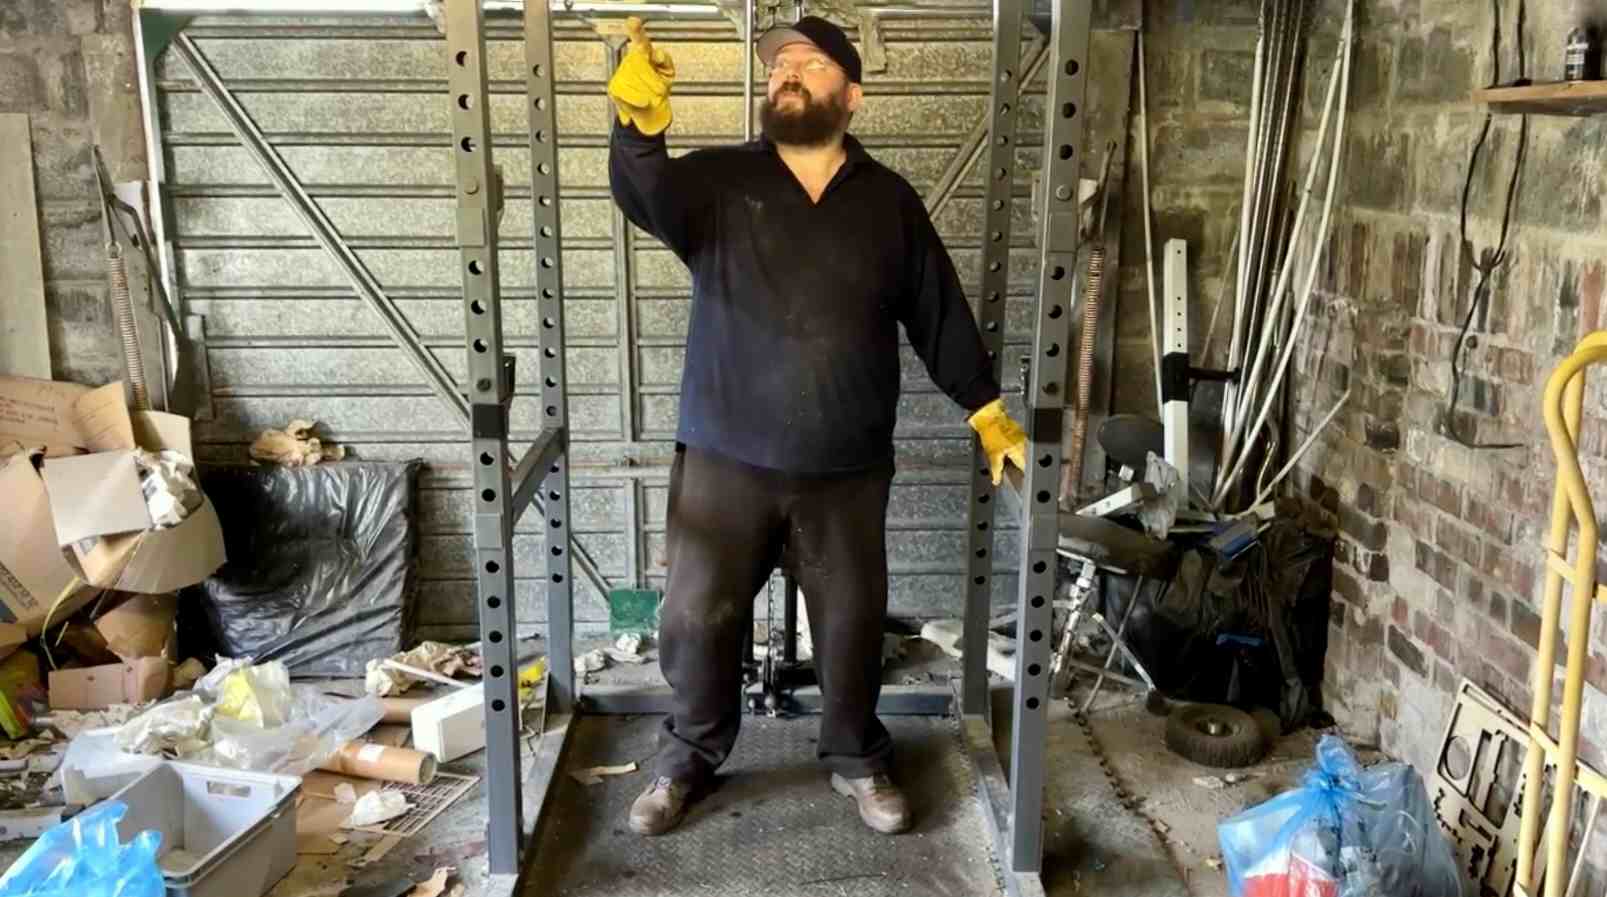
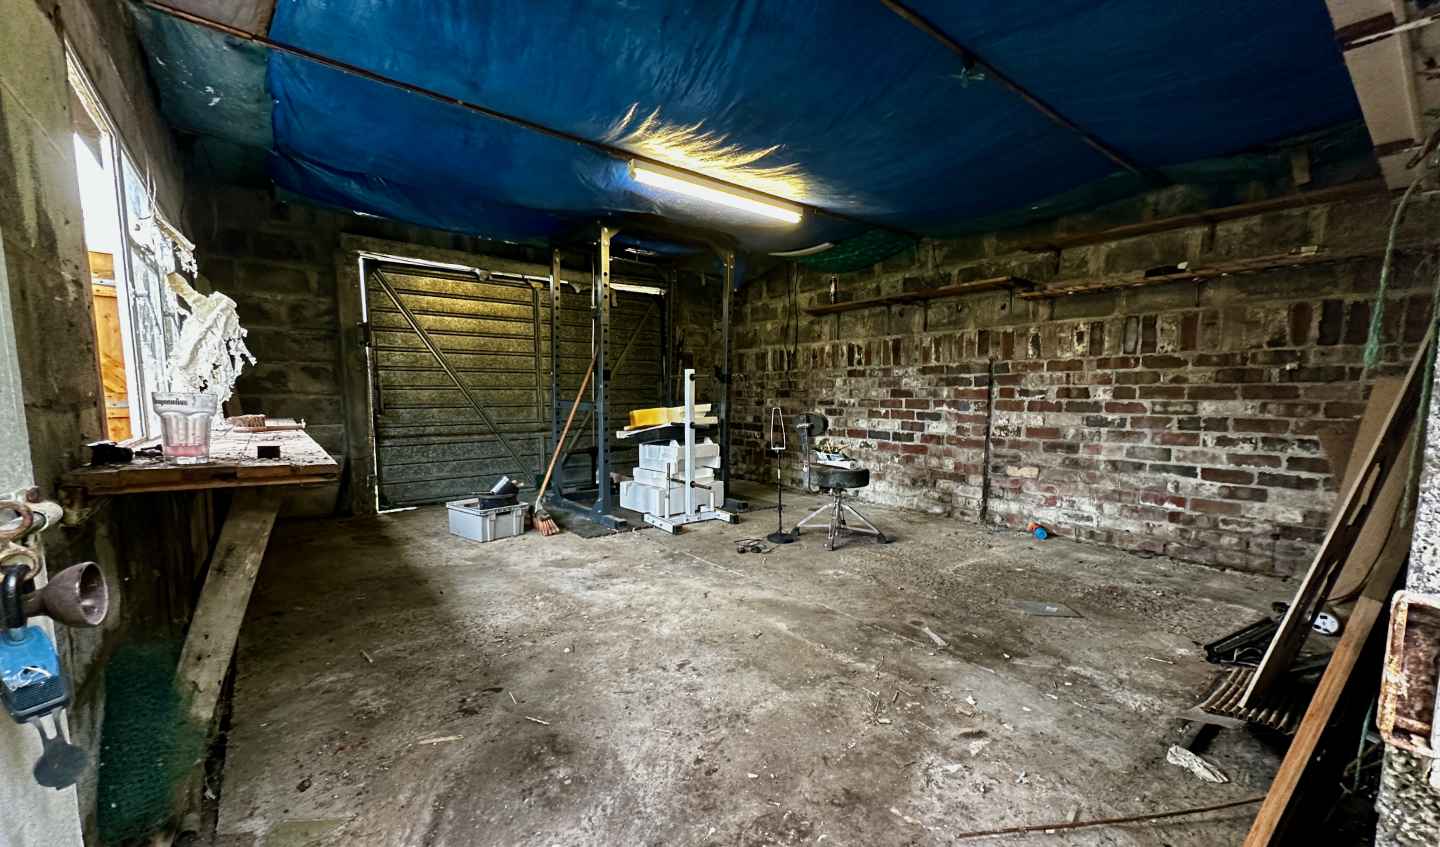
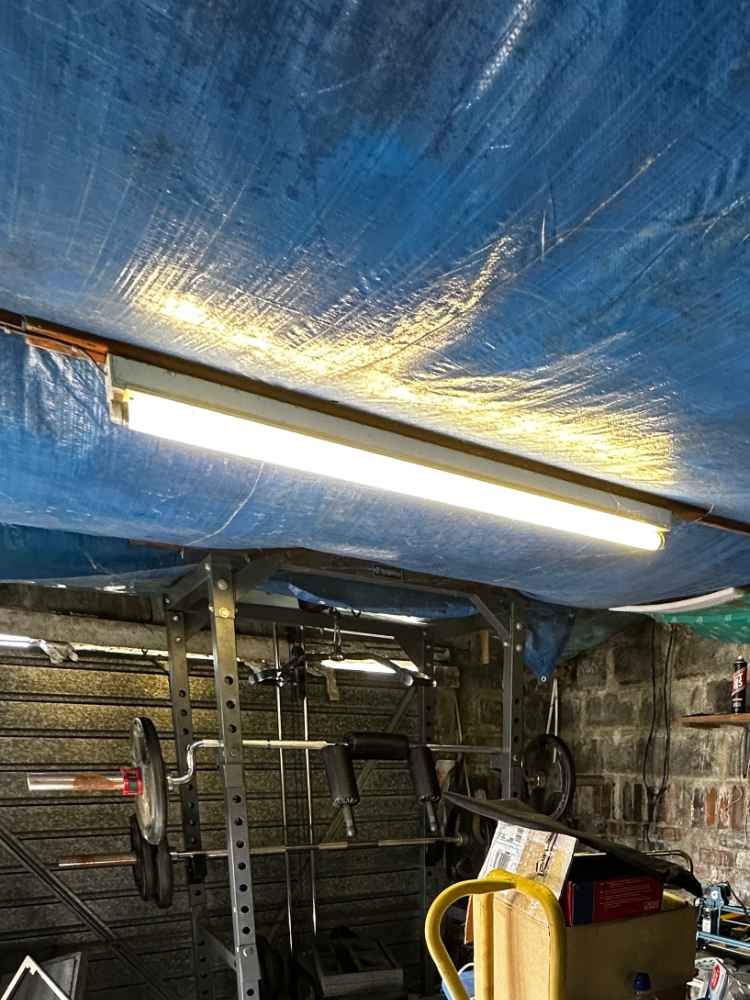
The previous owner had insulated the roof using a lot of newspaper, held in place with tarps. It prevented condensation drips, but with gaps around the vehicle door and a broken window (we found out why that broke later) it didn't insulate much. It made a nice home for some small rodents though. They came and went, something I could measure by the rise and fall of the spider population in there.
When the roof came off we got to see how old the newspapers were. 1995! I thought it'd be much older, but it turns out that's pretty old. The builder we hired wasn't born until 6 years after that.
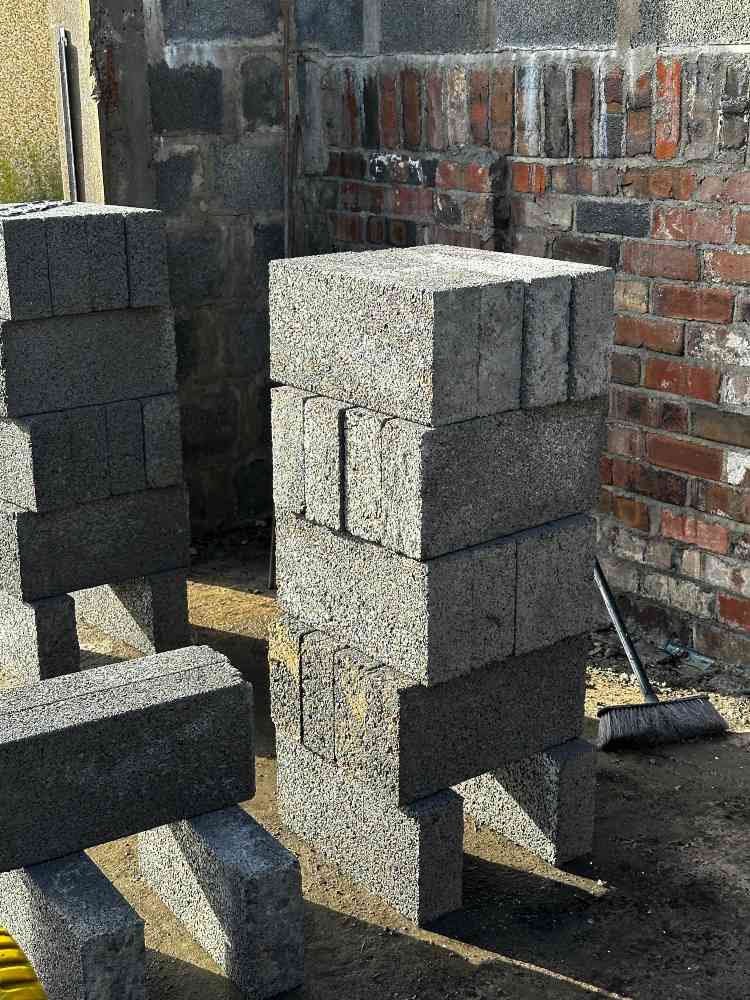
So after I'd finished crumbling to dust, the rest of the roof came off. Blocks (not bricks!) got delivered in a saga of "nah mate the lorry's too big to get up there" and "we didn't have any sand". The first of a few problems, and rather too many phone calls from the builder.
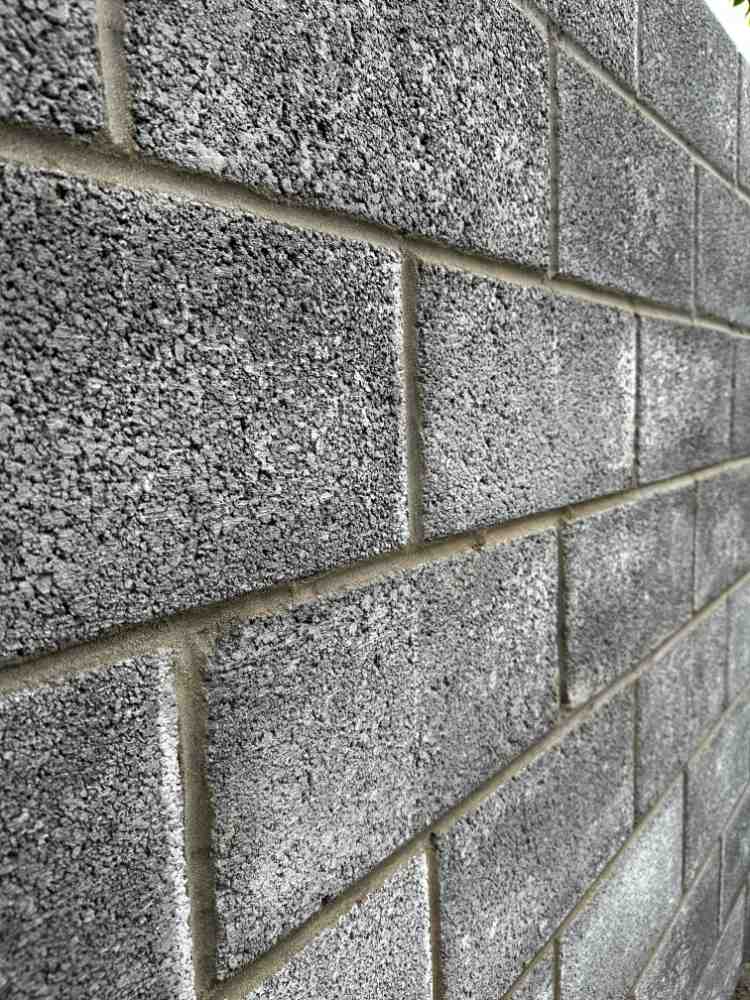
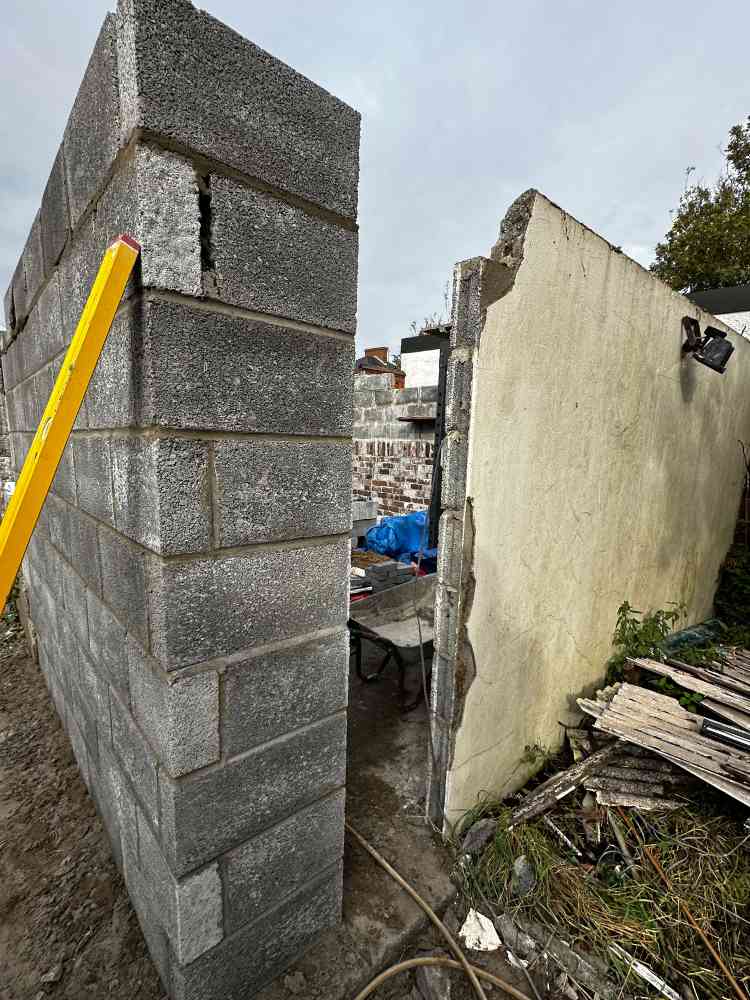
Before the walls could go up, the builder phoned about a problem with one of the existing walls. Half of it was leaning, half of it wasn't. The window had been between these two halves. That's why the window broke. So, the leaning half was taken down. More blocks. Blocks were put together, and a nice looking bit of wall appeared.
Then we got to the logistics of it being a 1950s garage built partly on top of a Victorian garden wall. Things weren't a nice round number or multiple of modern blocks. This didn't work for the builder, who didn't seem to know how to deal with it. Work slowed. The quality of blockwork plummeted. Other jobs came up. Work stopped. Oh, a 'bad back'. Wasted materials. And then he was gone. My phone was silent again.
If you've ever watched Grand Designs you'll be familiar with the scene: an abandoned building site, rain dripping from half finished things, a puddle where there should be a floor, mournful music. Then there's an advert break, and the date is a month, several months, or years later. The music is upbeat, there are workers on site again!
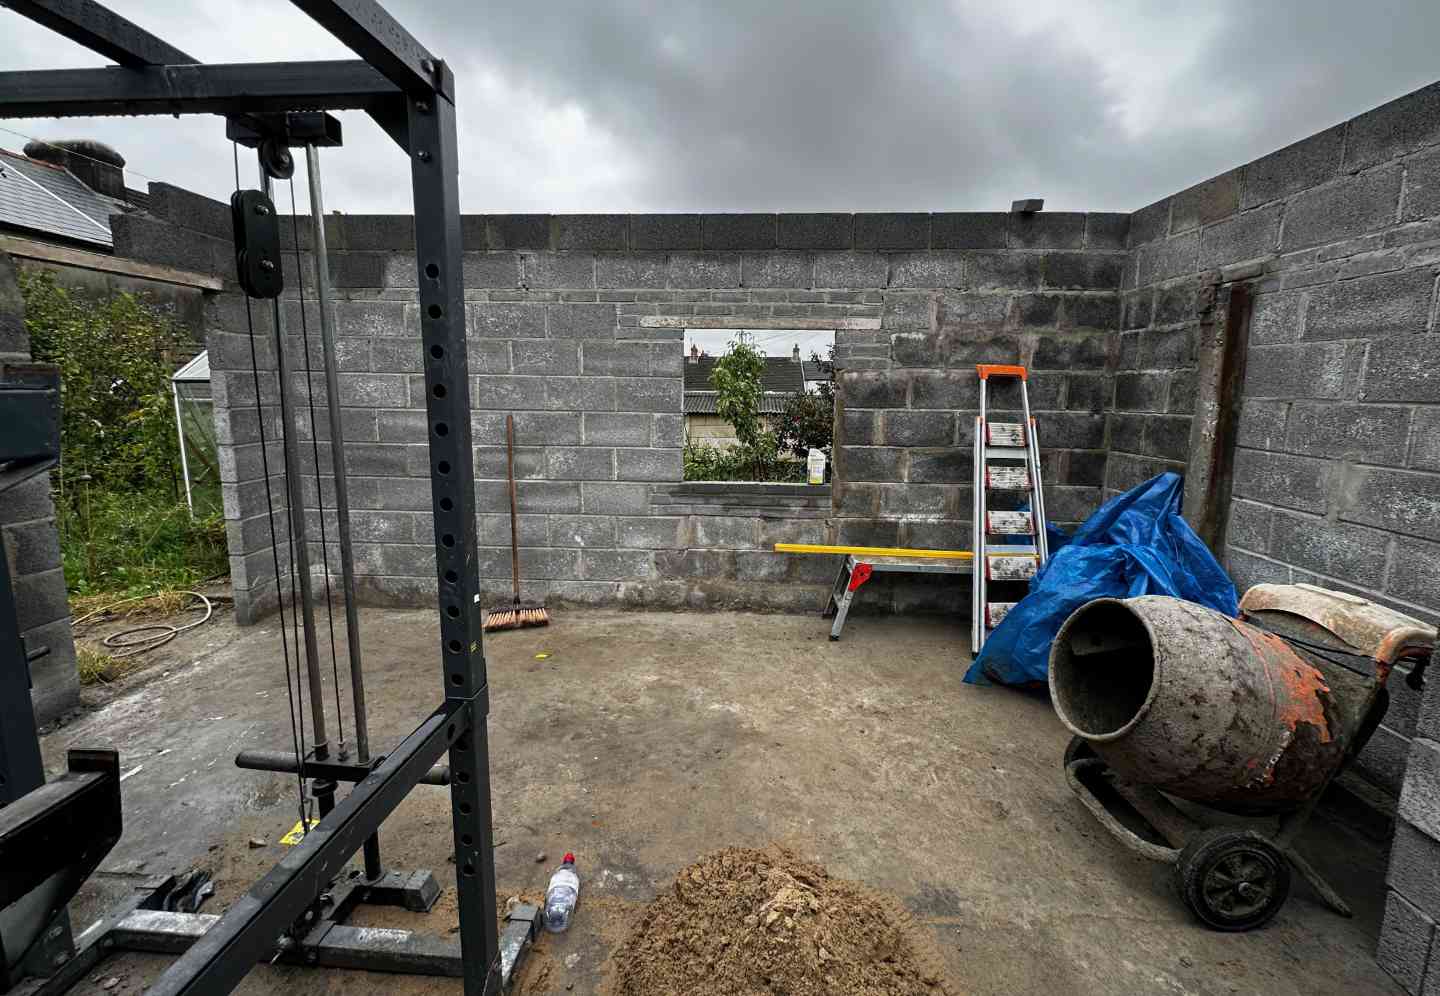
It wasn't even that long. Just 2 weeks. We had a recommendation from a neighbour for someone, and it turned out a customer had just cancelled on him so he had short-notice availability. Perfect. Also, more expensive. But, it had to be done.
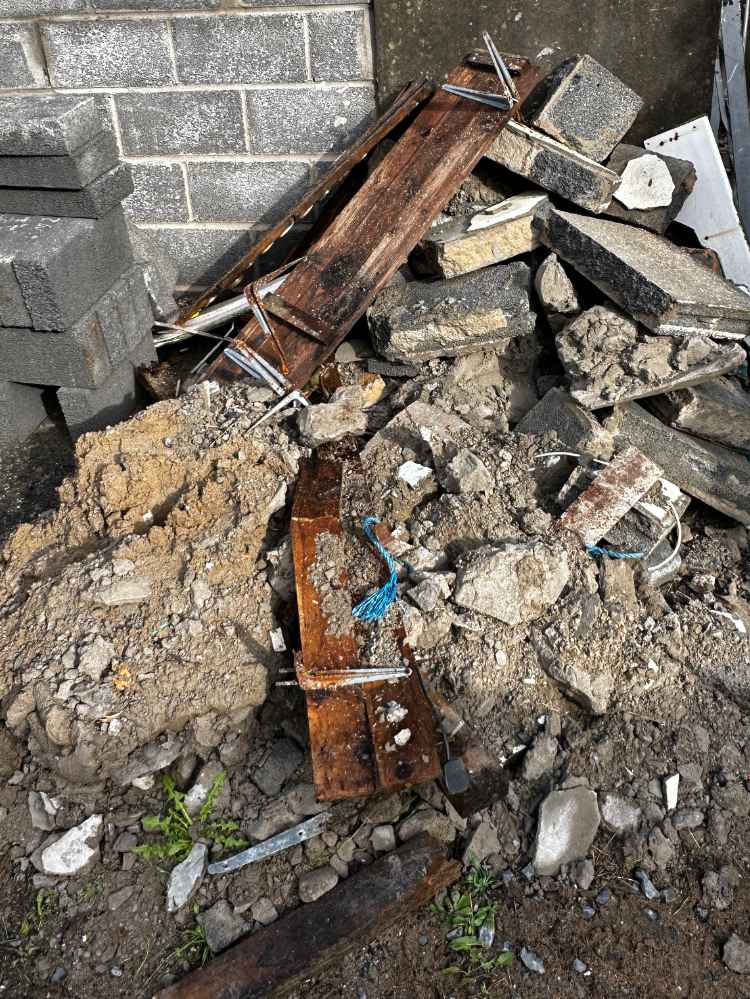
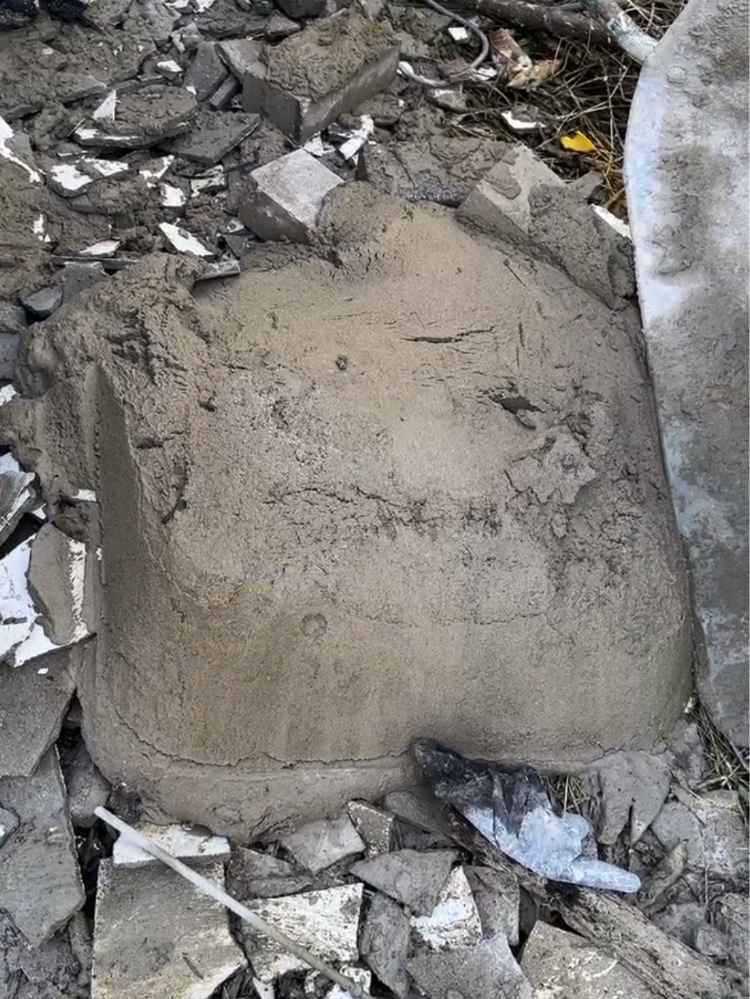
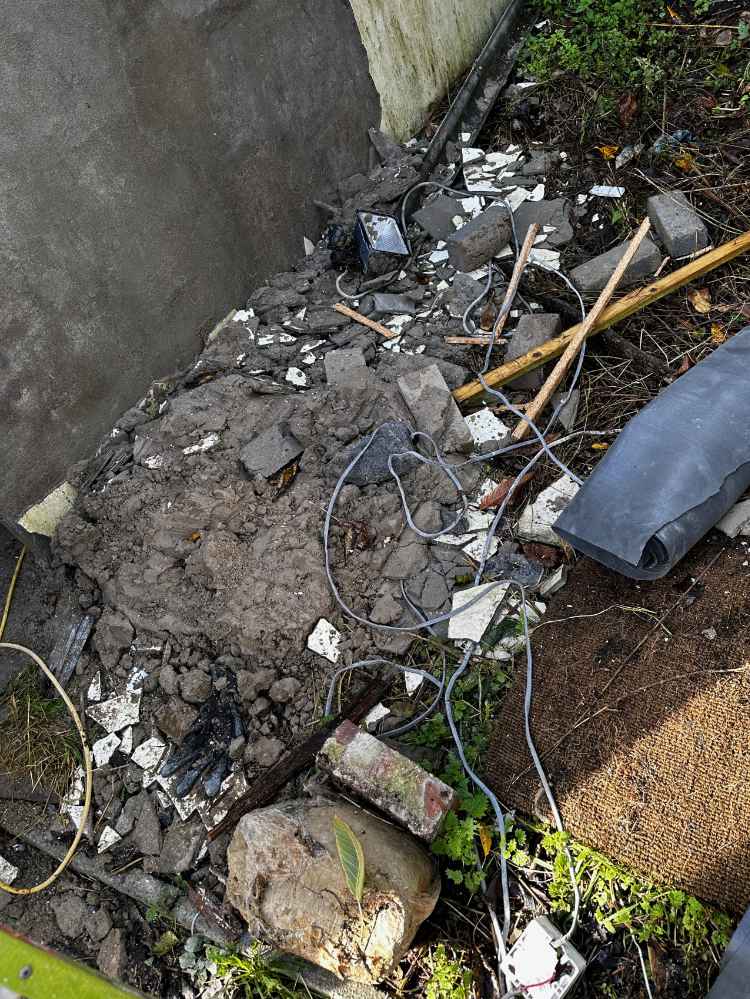
Before work could start again, we had to get rid of some rubble from the earlier bit of work. This is where we found some things that I was pretty angry about. A whole barrowload of mortar dumped on the garden (some still in the barrow), more mortar dumped on top of a pile of rubble, fusing it together along with rubbish: plastic bottles, food wrappers, coffee cups. Incredibly inconsiderate, disrespectful and careless waste. I hired a waste removal firm and with their help and a sledgehammer we got it shifted.
Then, at last, work did start again, and went incredibly quickly. The sloppy work was fixed. Mistakes were rectified. The walls were finished, the roof trusses went up. All without phoning me about every little thing. And a clean work site at the end of every day. Amazing.
We had a bit of luck with the roof too, as the guy who'd done another neighbour's roof was available. The weather wasn't being cooperative, but they got it done just in time.
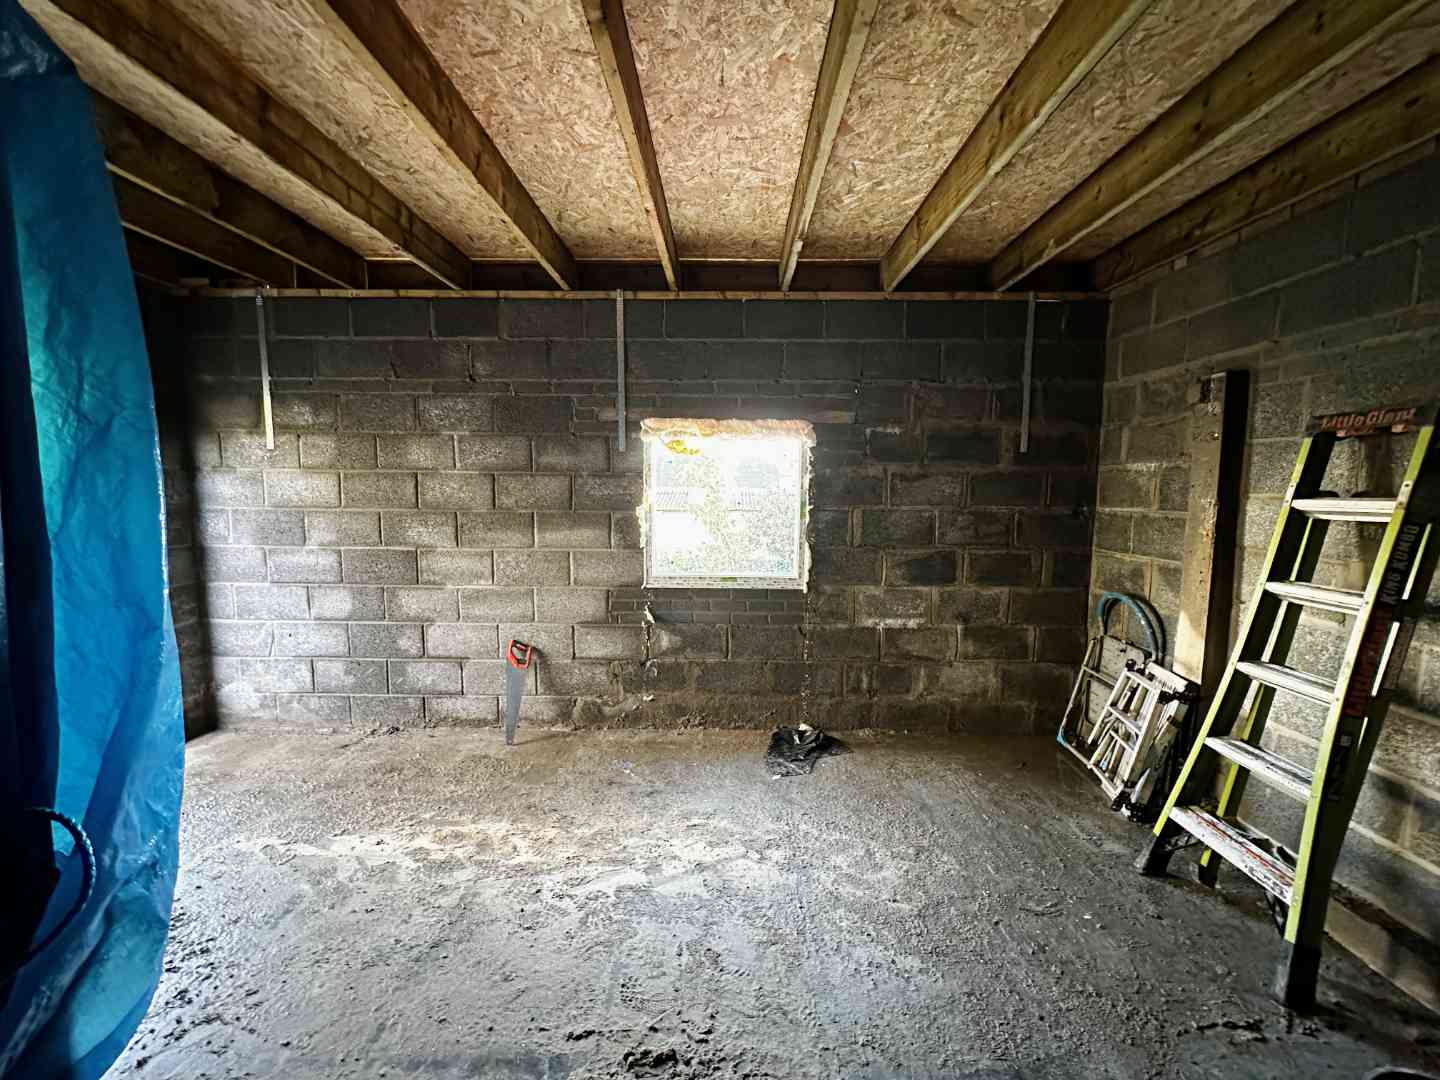
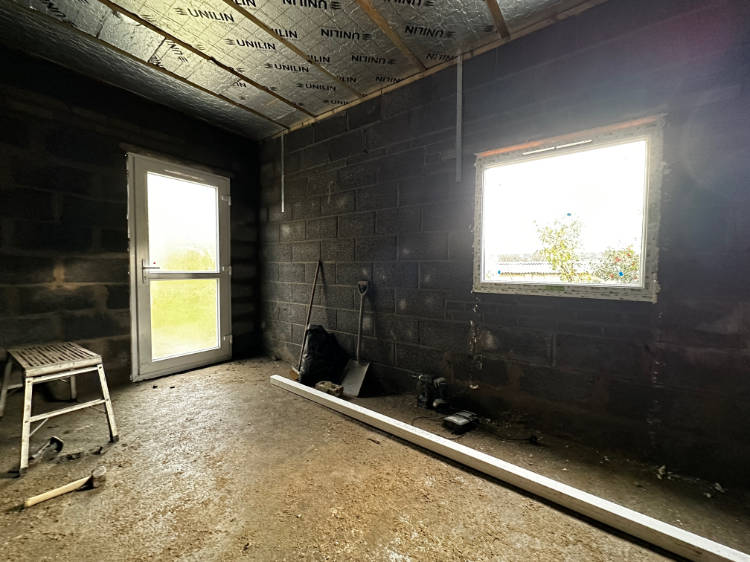
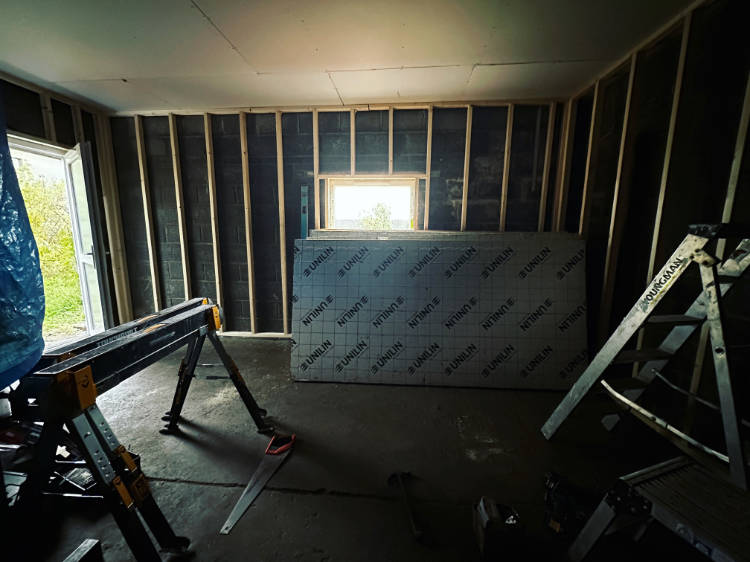
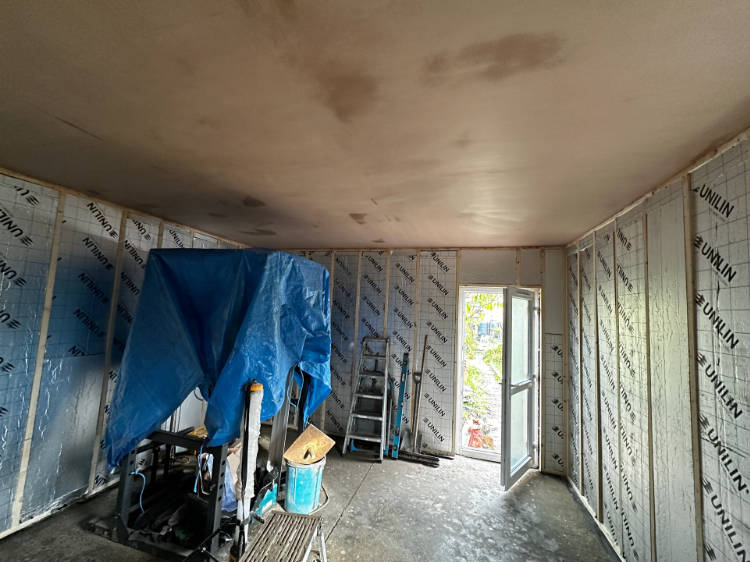
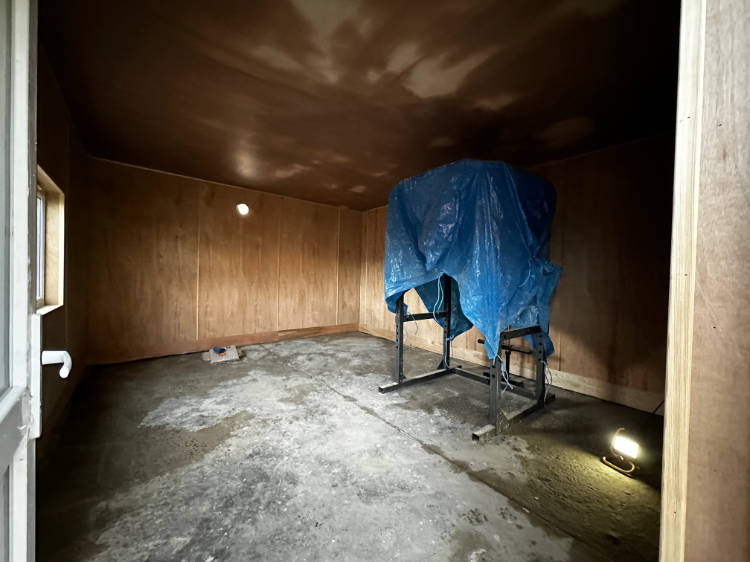
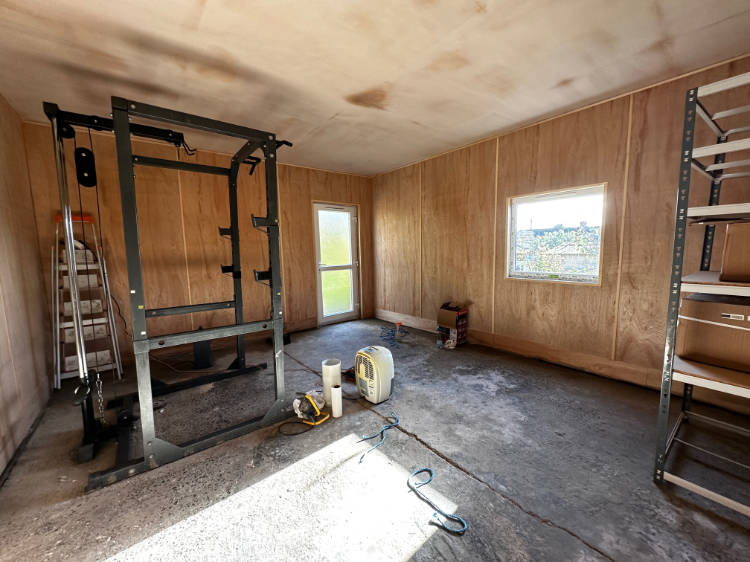
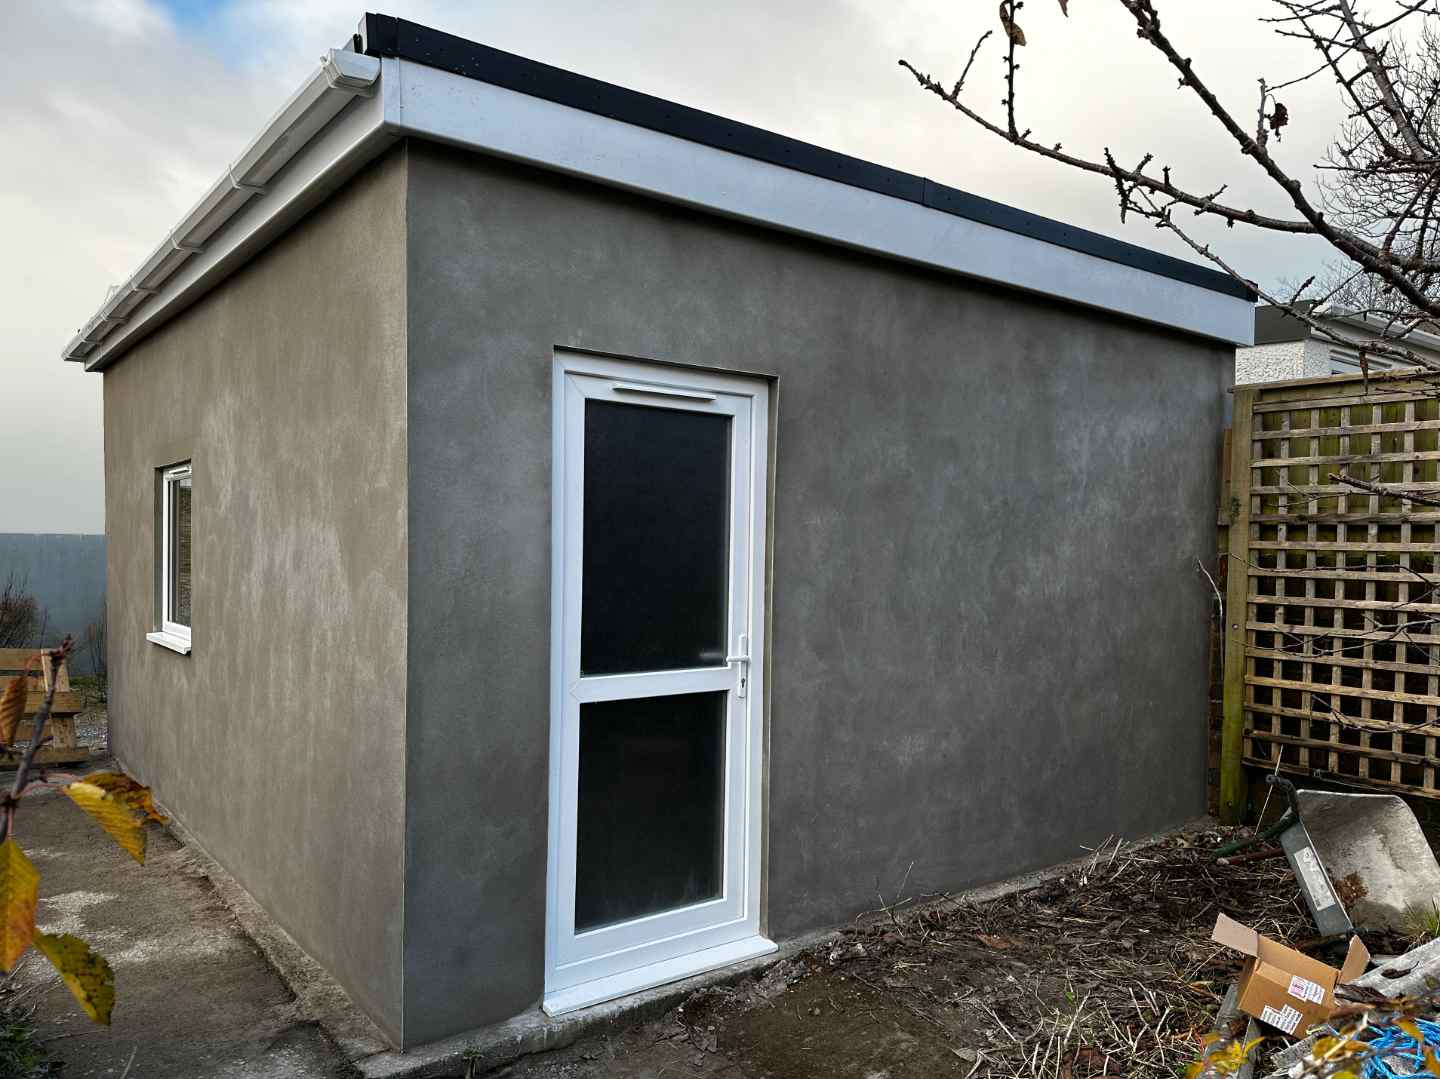
The door and window were in, the walls were insulated and lined in plywood (I love plywood), the ceiling was insulated and plastered, the outside walls were rendered, there were gutters and a downpipe. It was all neat and perfect. For the first time for many years it was now a weathertight building.
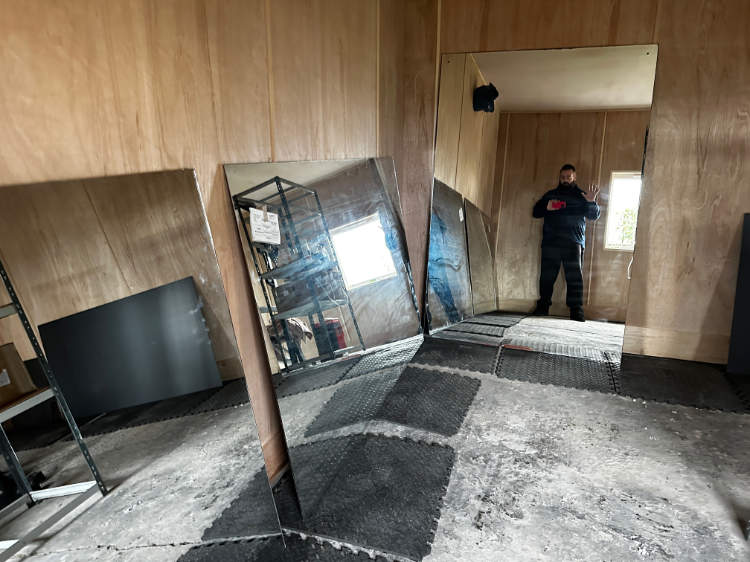
Now it was over to me to do things. First, mirrors! I was going to use half the space as a gym, the other half as a workshop and studio. I had a mirror I'd brought with me from when we lived in Brighton. We lived very close to a glass merchant, and I'd bought a big big mirror sheet from them. It had been leaning against the wall the whole time in the garage. Moving that out, and back again, was very confusing, it's a mirror that fills half your field of vision, so you move and half the world appears to move the wrong way. Horrible.
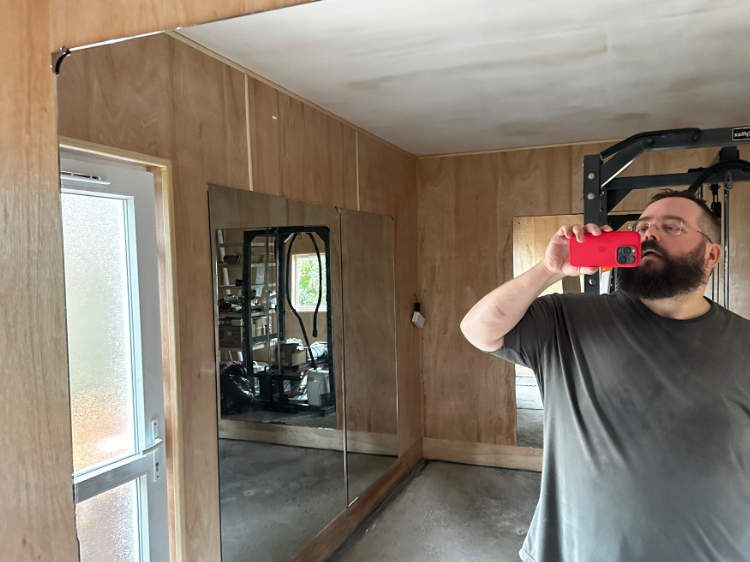
One mirror wasn't enough, so I ordered some new ones. I was being super conscious of how much things were costing, so found a place selling seconds. They were fine, just some rough edges. Enough to cut you if you weren't careful, but when mounted on a wall would be OK. We glued those to the wall using mirror adhesive, and they were perfect. Huge mirrors in front of and behind the squat rack, and all along the wall to the side.
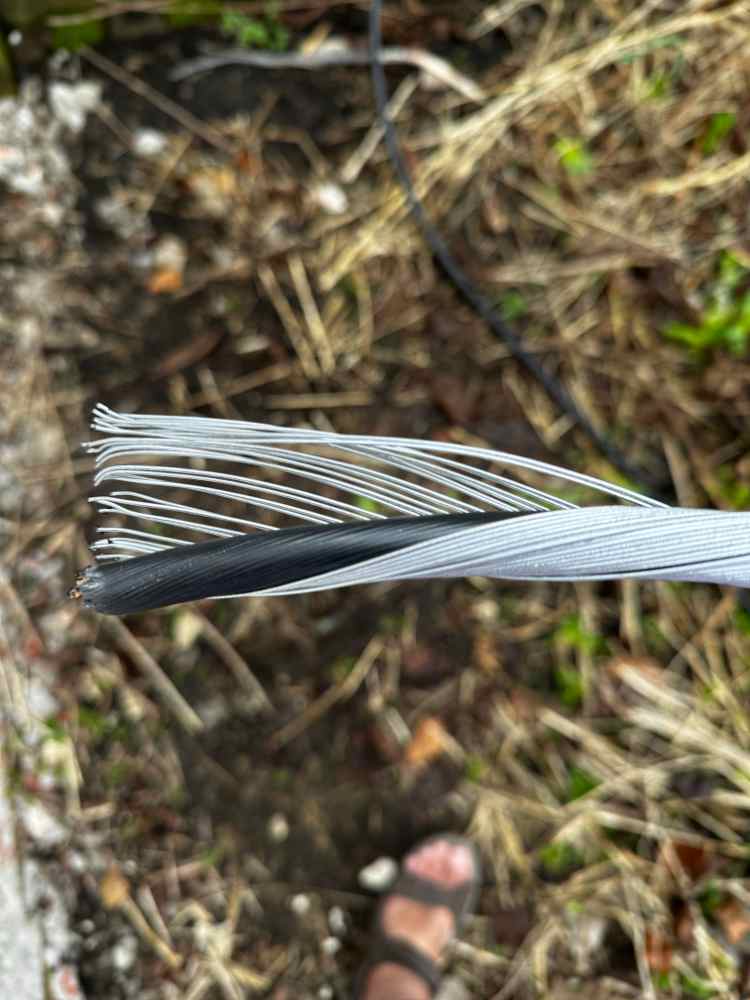
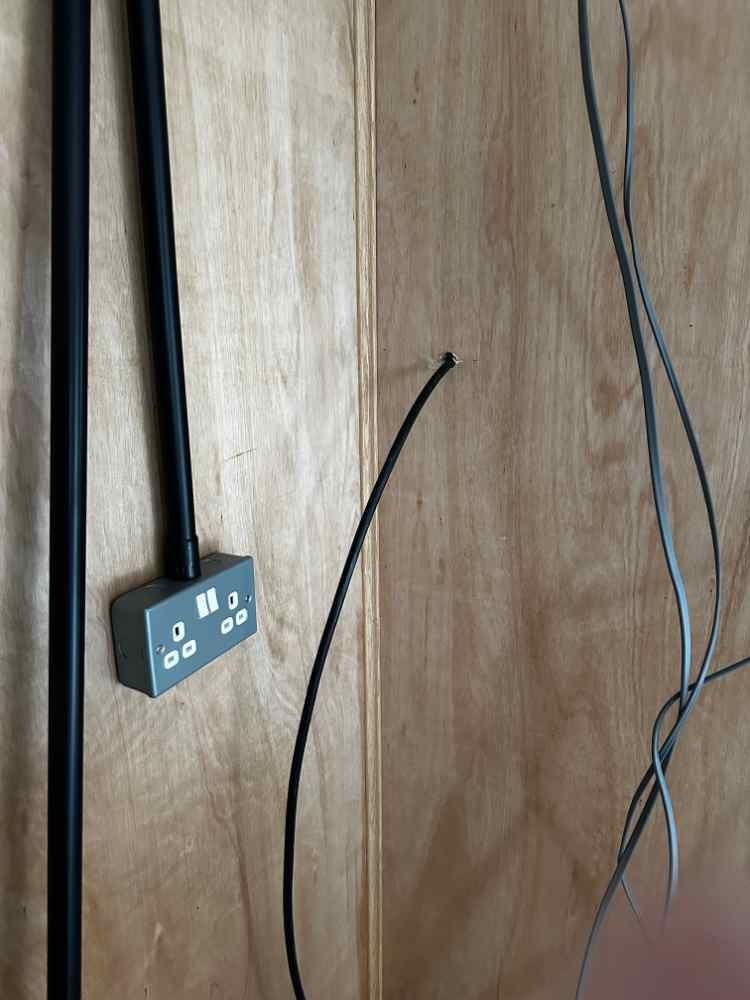
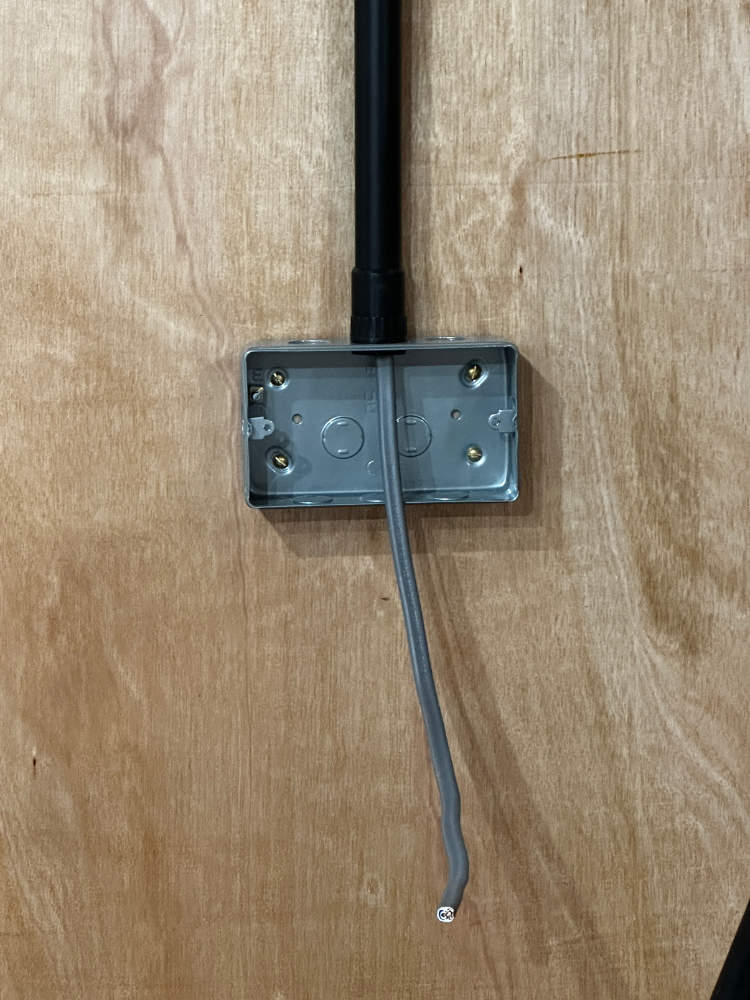
Now the electrics. I was going to rewire the place myself. When we had the house rewired the electrician had told me there should be an armoured cable from the house to the garage and that if we ever got the garage redone we should do that. So, I did. Armoured cable is hefty stuff! It's heavy and stiff and annoying. I was glad it was winter (I never say that) because I could get to the wall to attach the cable. The hardest bit was getting the cable through the hole in the workshop wall the original cable went through. Now there was a thick layer of insulation there, and a hole in the plywood that didn't line up with the outside hole. That was fun. The sense of relief when the damn cable finally appeared through the hole was wonderful. Not the first time I'd have cable-threading frustration.
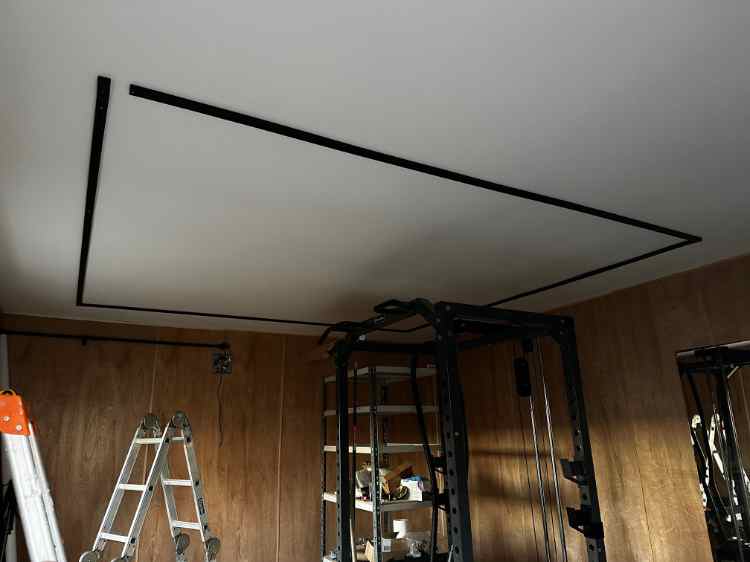
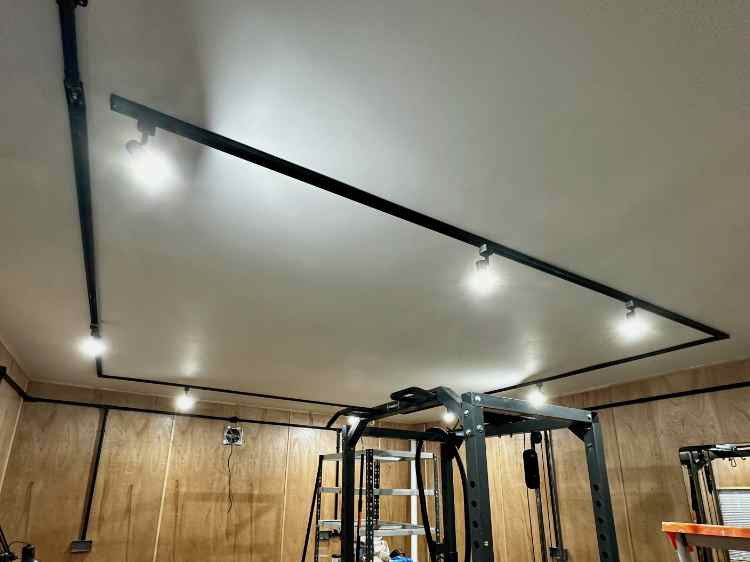
Before I did all the wiring, I wanted to get the lighting track installed on the ceiling, purely because it's made of very long fragile strips and they were very much in the way. They'd be a lot safer stuck on the ceiling than sitting on the floor. I'd painted the ceiling already, and the plasterer had done such a perfect job I was really nervous about drilling into it. So, this was a bit stressy. We got it done, with only one or two sharp words between us. I don't have great balance, and this was being on a platform looking up, not great. It was all neat and tidy in the end.
Lighting track is hell though. It's got these internal channels with the conductor strip inside, and they can slip forward and backward and get in the way of the connectors you have to attach to the end. The only solution is to jiggle it and jiggle it and persuade and nudge and eventually it goes together. It's all too fussy and too fragile.
Once it was up I went to test it and… it didn't work. I checked, and adjusted, and checked, and checked. It turned out that because I was doing this before the actual wiring, I was using the extension cable and the crap builder had damaged it (like my platform, the ladders, the hosepipe… etc) and LED GU10 lights are fussy. I tried it with a different extension cable and SUDDENLY IT WAS DAYLIGHT. Yeah, turns out 10-watt daylight LED lights are bright, especially when you have 10 of them on at once. It was a joyful moment, honestly.
So, onto the actual wiring.
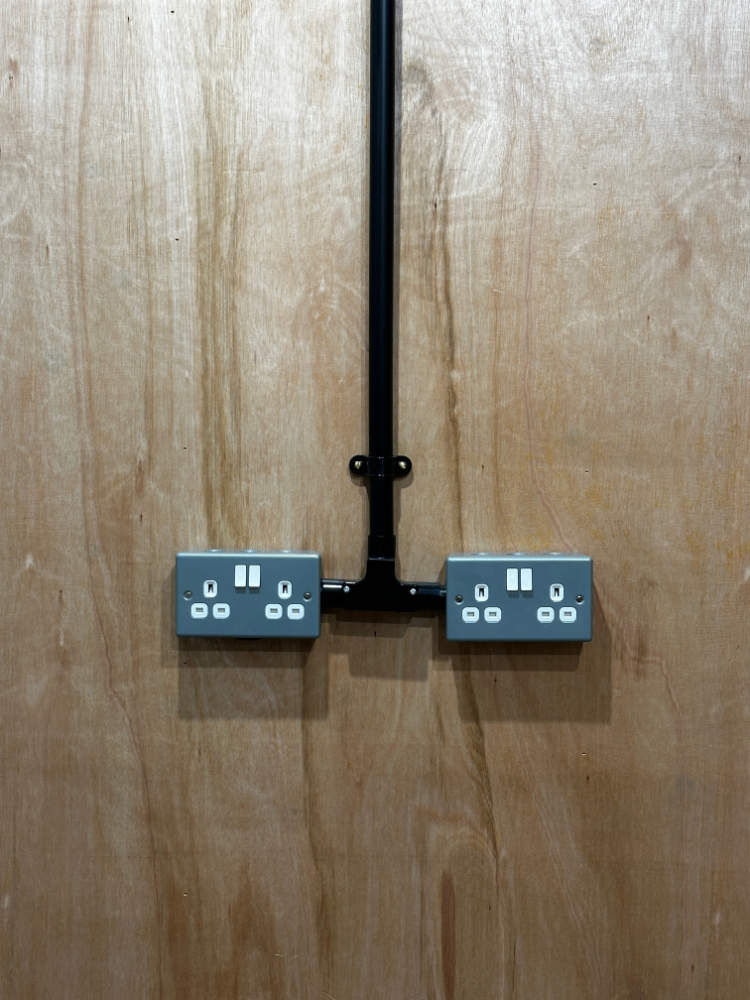
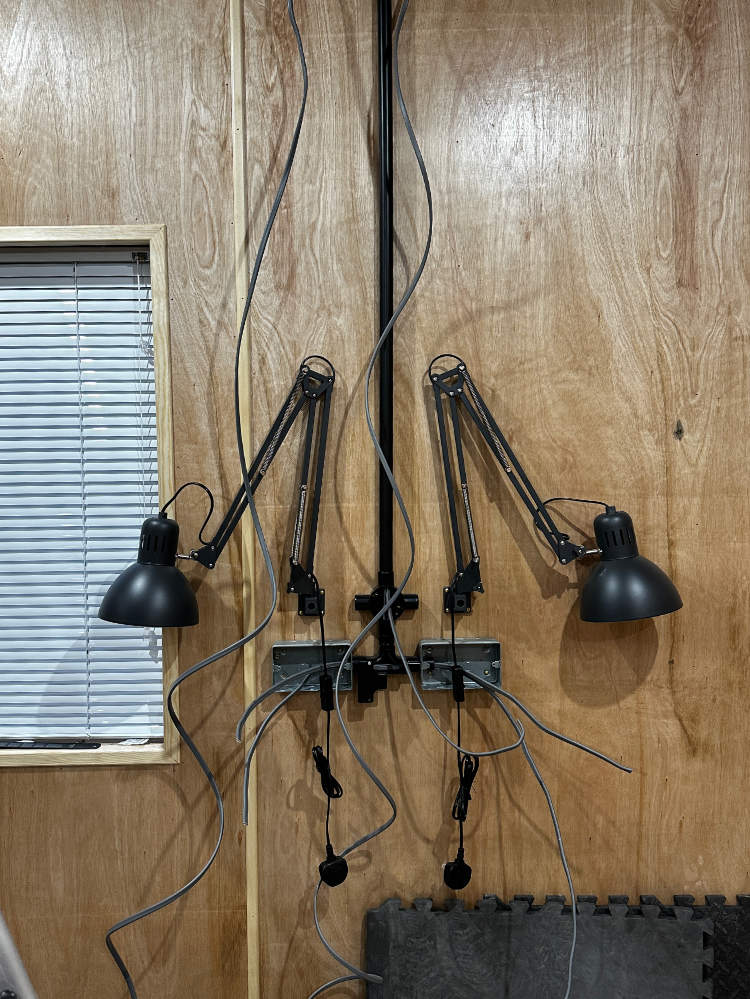
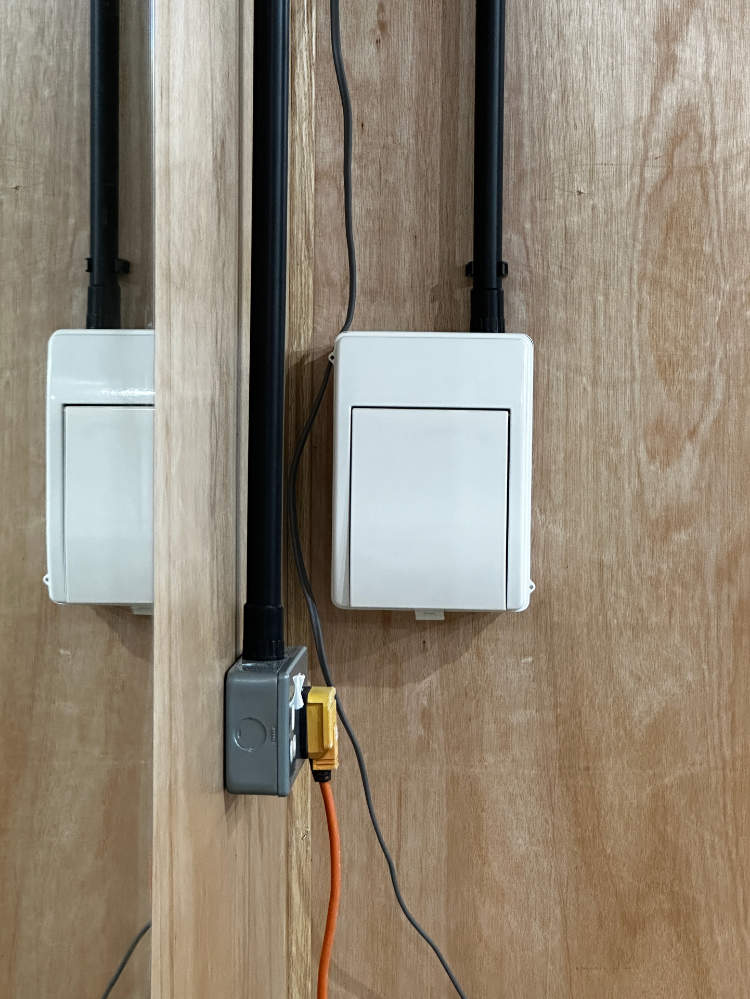
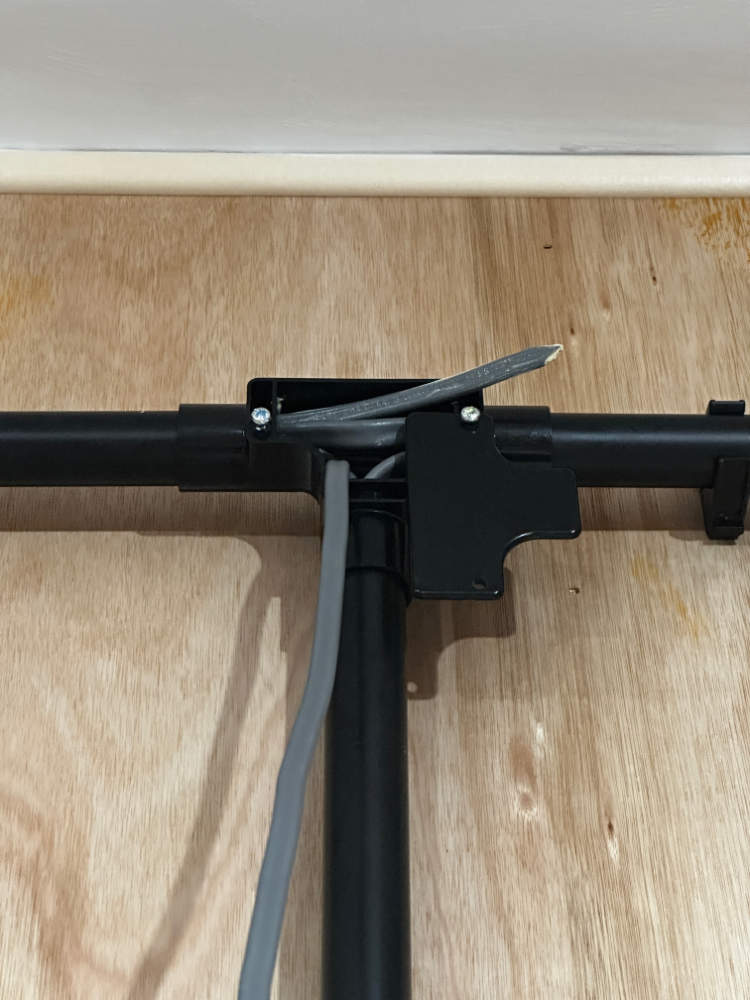
The internal wiring is all surface mount using PVC ducting. It made everything all neat and tidy and added a bit of safety as the wires would all be protected by something. It was also all the same make and black and industrial so looked pretty good against the plywood. Once I'd got all the ducting up, I attached the sockets to the walls. I had a laser level to help with this and it all looked like it would be simple. Problem is, I'd used 25mm ducting (because of the cables I had to run) and sockets have a 'knock out' that is… 20mm. So I needed yet another tool to cut a larger hole so that the ducting could be securely attached. What a pain. I was also mounting three task lights to the wall, wired into their own circuit so I could turn them all on at once using a switch by the door.
Once that was done, I prepared where the 'consumer unit' (the thing that would have been a fuse box in the past) was to go, and started threading cable. And… it was difficult. Ridiculously difficult. The cables seemed to gain extra friction inside the ducting. It was such hard work. And then I found out about cable lube. It's a thing. Slippy yellow stuff! You rub it on the cable as it goes into the duct and wow, that made things so much easier.
Then there was the bit of ducting that had to carry the maximum number of cables. It was the bit from the consumer unit to the switch, and there had to be a cable back from the switch, past the consumer unit and back round the room to the extractor fan. No matter how much lube, the cable would not go along this bit. It was 2.5 metres of pure frustration. I guessed that there must have been a twist in one of the cables already in the duct, and that was getting in the way.
And yes, hindsight is a wonderful thing. If only I'd done this, if only I'd done that. But here we were.
In the end, sheer bloodyminded frustration won the day. I was pushing the cable through for the nth time, and tried rattling the ducting really hard, pure pissed-off energy shook the damn thing past the obstruction and choirs of angels the cable popped out the other end!
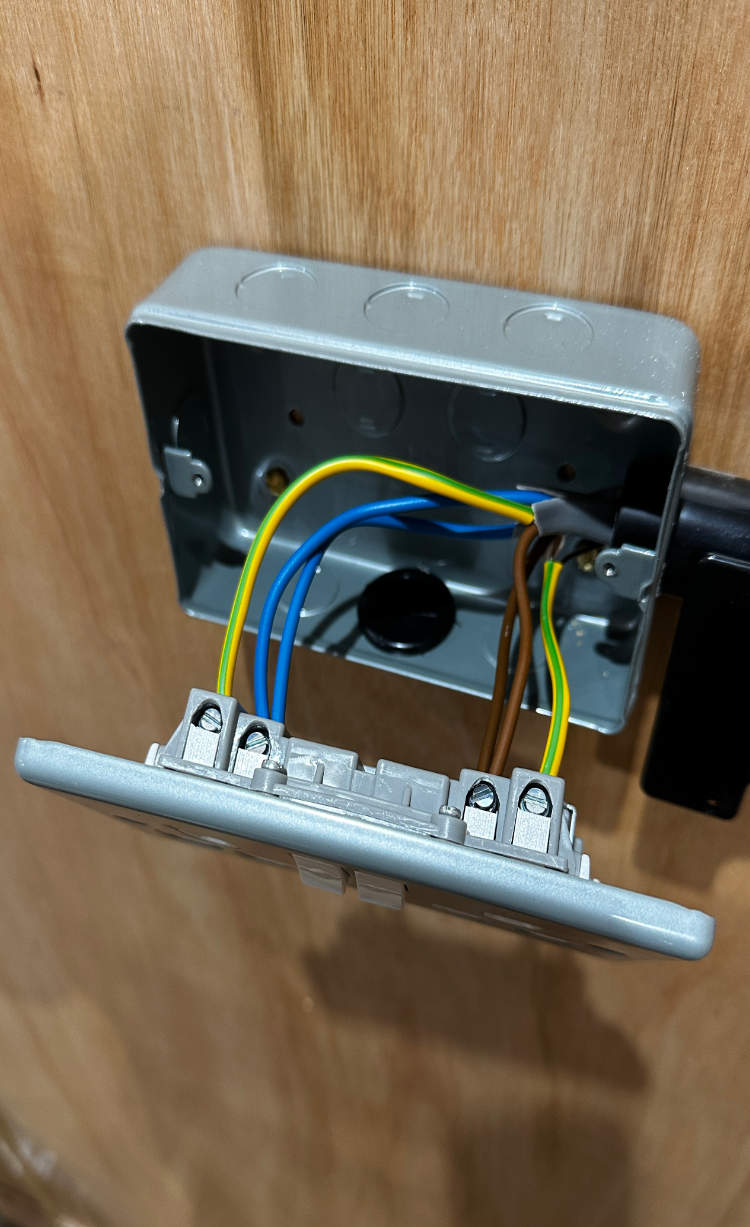
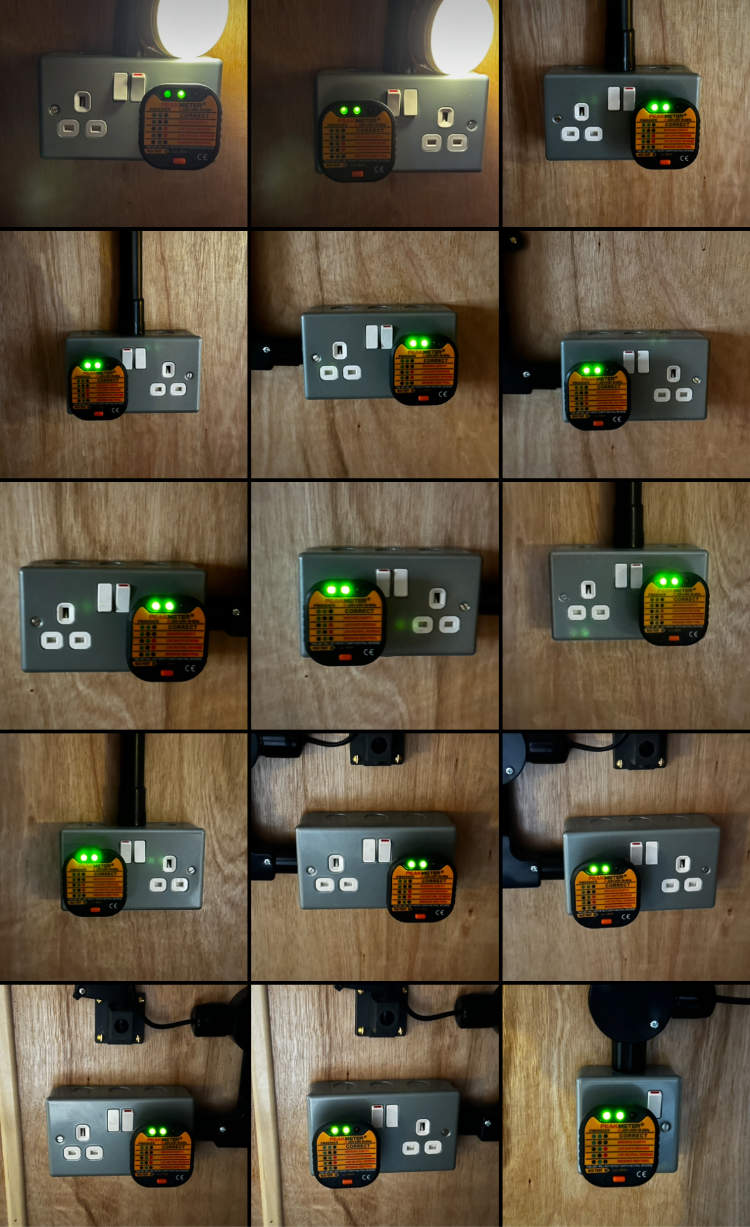
The next bit was actually quite enjoyable. I connected the wires to the switches, then wired each of the sockets in turn. It was repetitive, but also meditative. I used a socket tester to check each of them and it was lovely seeing the little green lights on it for every single one.
Then to connect the lighting permanently, and this was where my age got in the way. I now wear varifocals. That means that I look through the lower part of the lens for nearby things, and through the middle and upper part of the lens for far away things. Unfortunately I was trying to see something nearby on the ceiling. I had to use my phone to take photos of the wiring to keep checking I was connecting it all properly. I got it done though, and the multimeter confirmed everything was good.
Then! The floor. In hindsight I should have had the floor screeded. The power rack being in the way kind of made that seem impossible, but again in hindsight there would have been ways to do it. So, the floor was slightly uneven, and the first builder had dropped lumps of mortar on it all over the place, so I had to go round with a hammer and chisel getting that off.
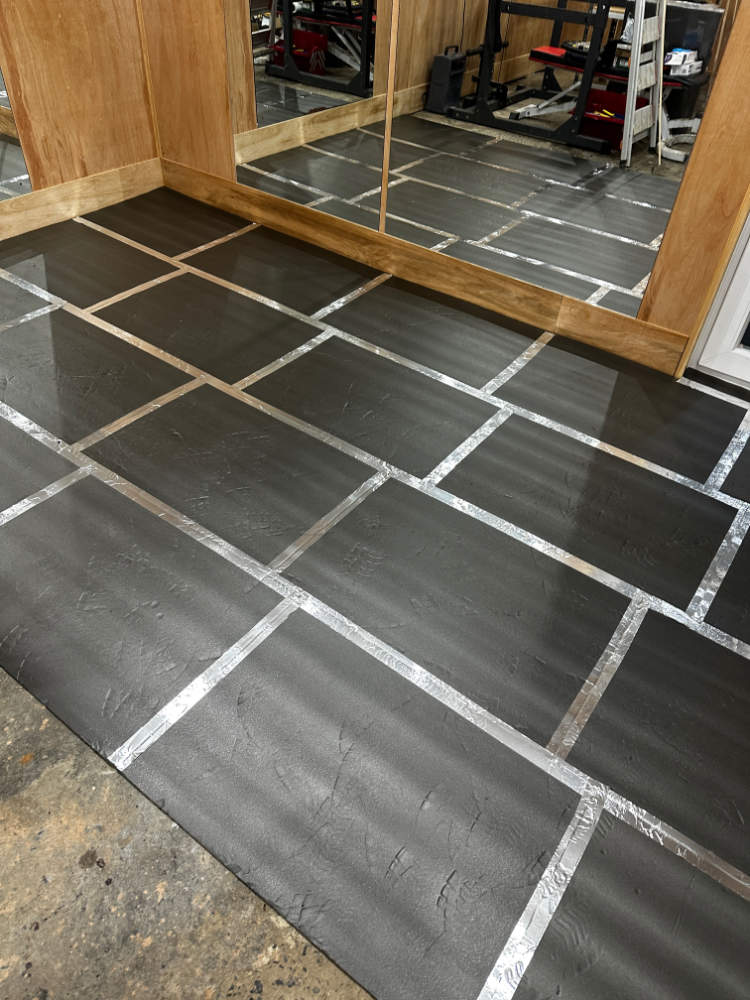
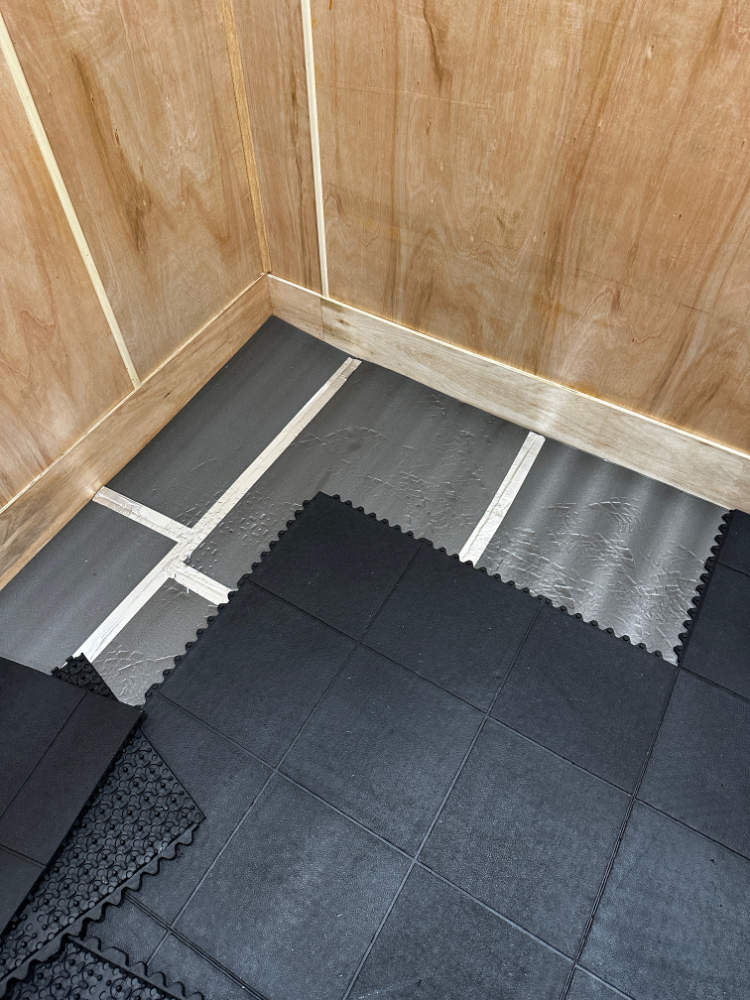
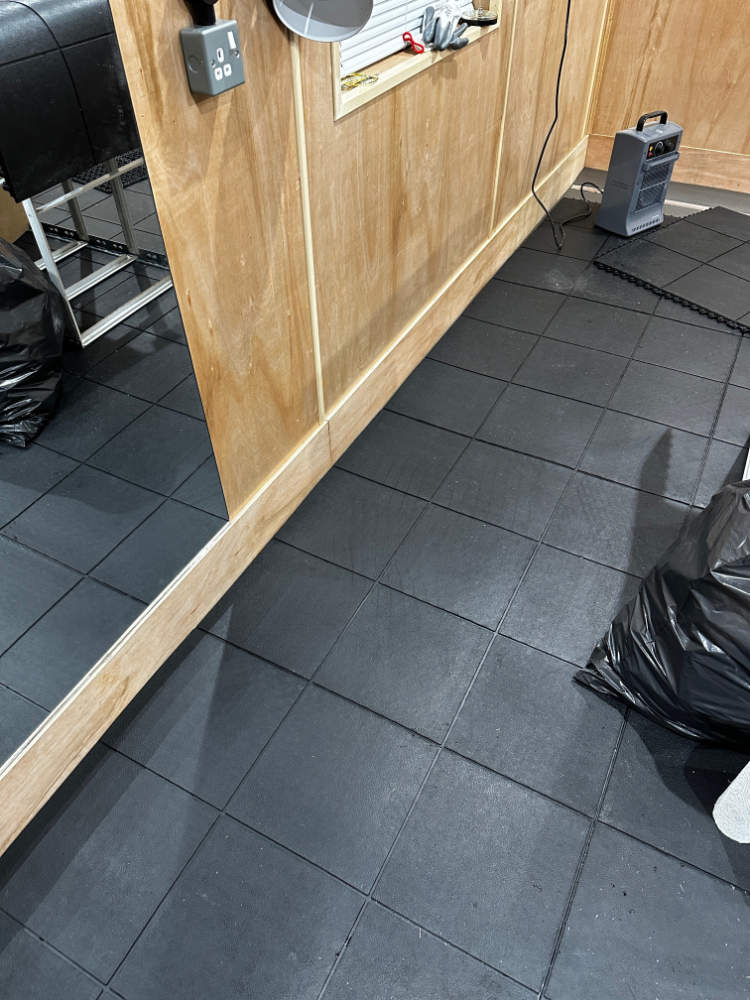
There was a sale at some gym supplies place for rubber tiles so I was able to save a bit of money there (they're expensive!) and also got some underlay foam sheets to help smooth out the floor. I spent a few evenings doing that, my poor hips and knees aching at the endless squatting I was doing to install it.
Next up was fairly straightforward, I ordered some heavy duty shelves, put together a long Ikea desk I'd had for years as a bench, and just got on with using the space as a gym and studio. I'd bought a piece of workshop equipment before all the build started and still needed to build that. That's a later story.
I still needed to paint the outside walls. The cement render was weatherproof and fine, but it's better if you paint it and I'd already got the paint. What I needed was a long enough period of dry weather to do it, ideally at the weekend.
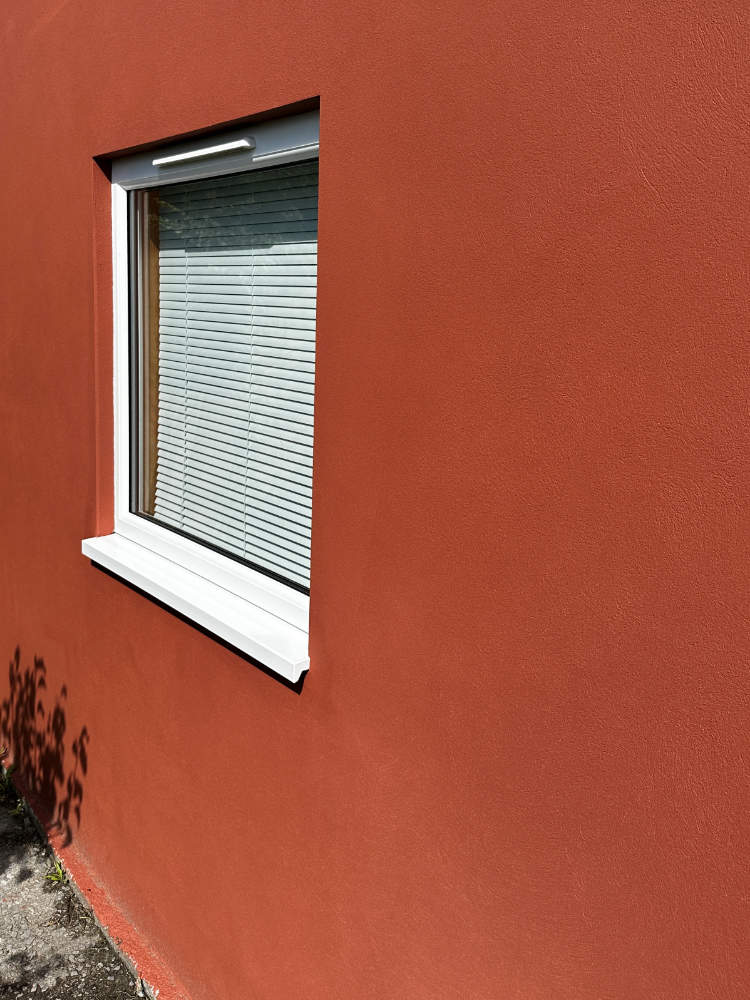
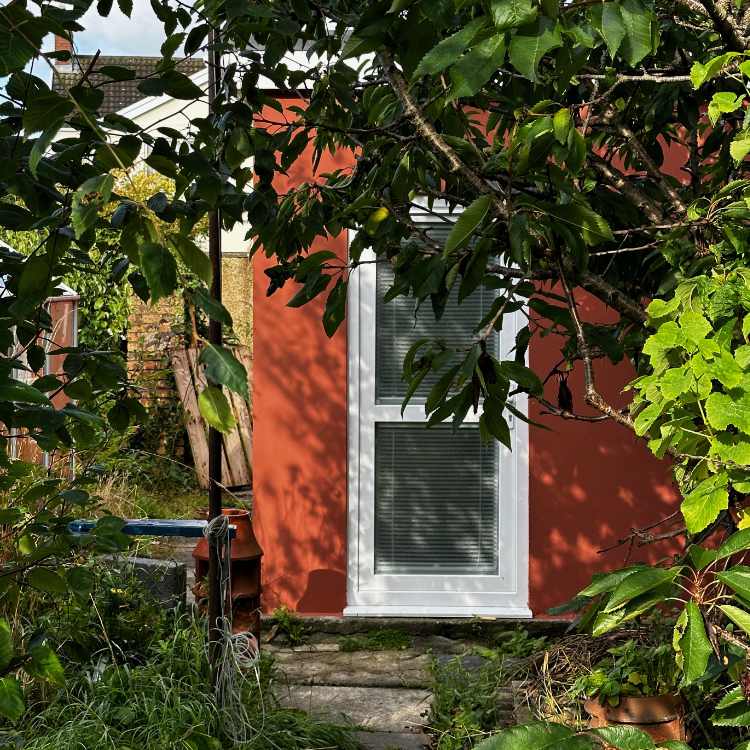
That just wasn't going to happen so when there was a week of good weather forecast I got up early to paint the walls before work. Everything is really quiet at 7am and there's a huge rose bush and a mock orange really near the workshop so it was warm, quiet and fragrant. I really enjoyed it. Biggest surprise of the whole project! Also, the colour turned out to be gorgeous, brick red in the shade, terracotta in the sunshine.
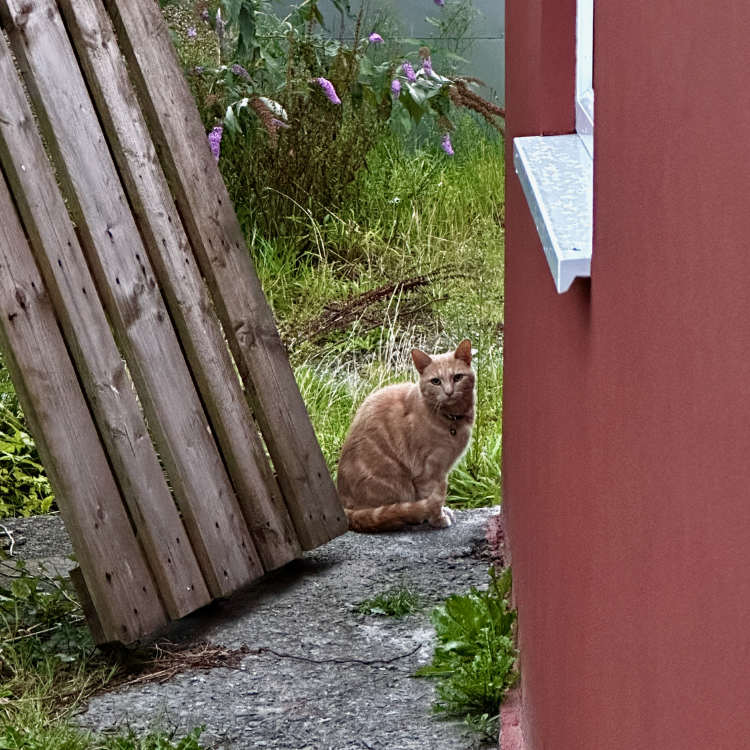
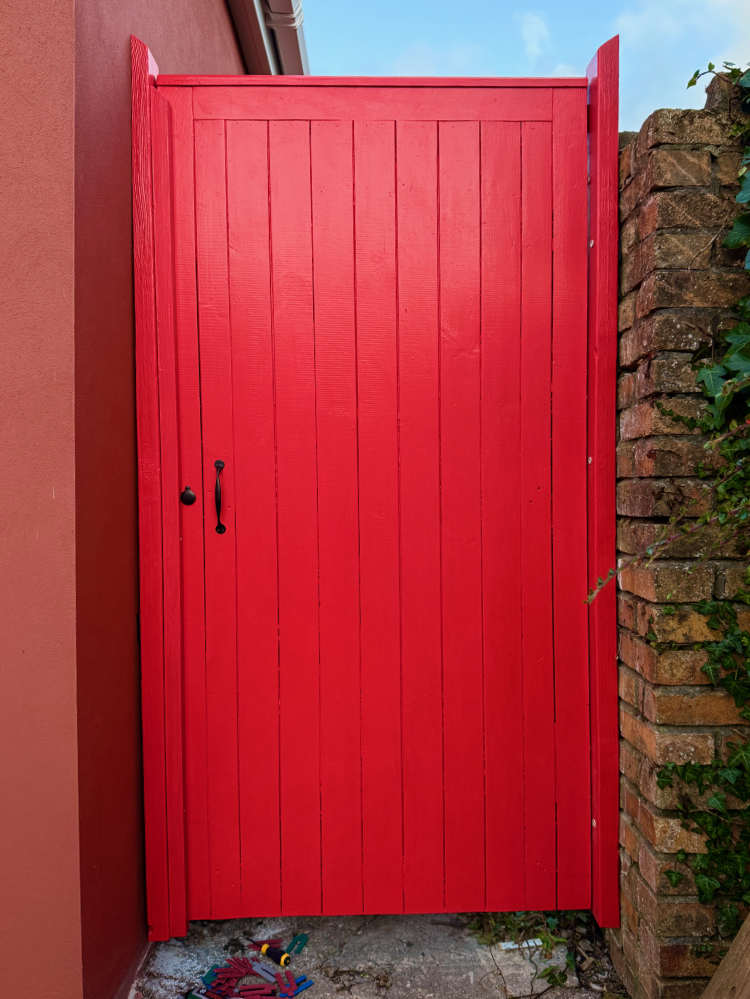
Once that was done the last bit was installing a new gate. The old gate was rotten and had been removed already because it had been attached to the old garage walls. The gate posts were falling apart too.
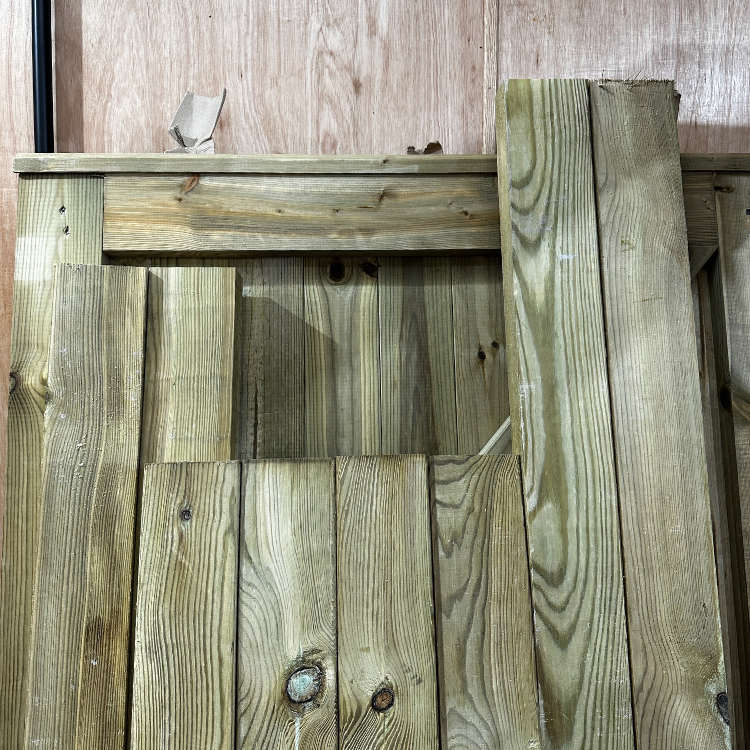
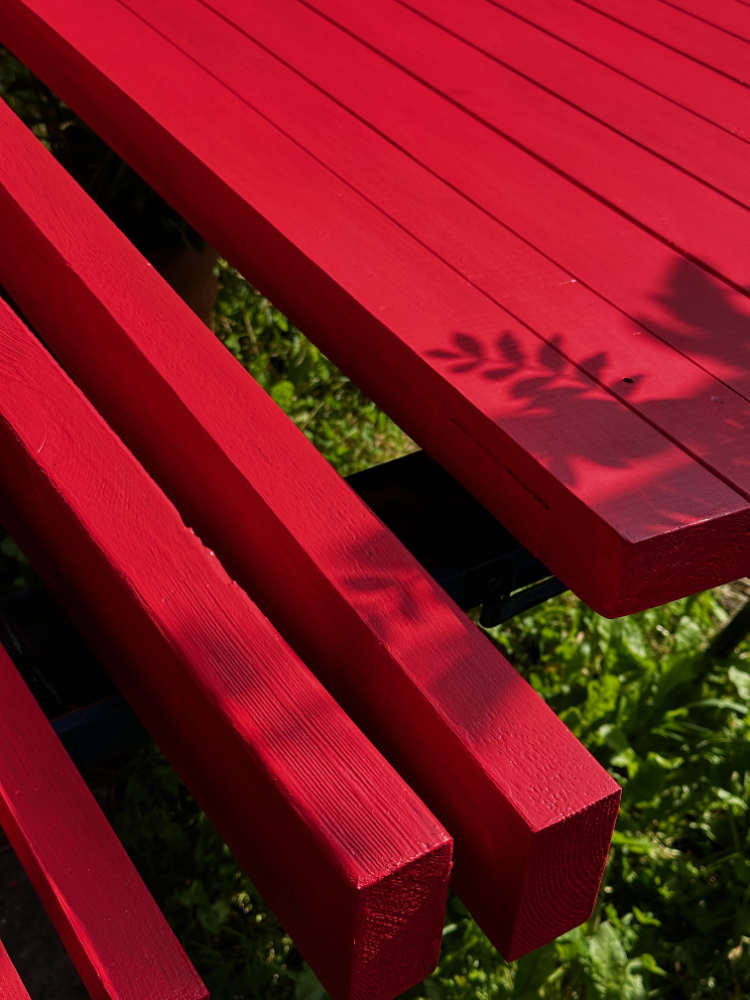
I've never installed a gate before, so I was nervous. Also, it would mean drilling into the perfect surface the plasterer had created. But, it needed doing. I ordered the gate and all the fixings, I had some timber for another project that was just right for the gate posts. I had some paint I'd ordered right at the start of the project, so… onward.
I didn't have enough paint. A big part of my job is writing clear unambiguous instructions and labels, and I get caught out by the world of DIY where no one gives the slightest shit about being helpful. So "two coats: covers 8 sq m" on the label actually means it covers 8 square metres with one coat of paint. Sure, great. Also it's so great that they discontinued the paint a couple of months after I bought it. Really great. I was thrilled.
And thus the saga of the paint begins. I ordered a different paint, obviously a different shade, but I was fine with that. I sanded the first coat to give it a key (I have painted wood before, this should be just fine). But! This paint was not fine. This paint did not want to cover a surface. It did everything it possibly could to remove itself from the gate. It also refused to dry. Not all "exterior wood gloss paint for painted and unpainted surfaces" are made the same, it appears.
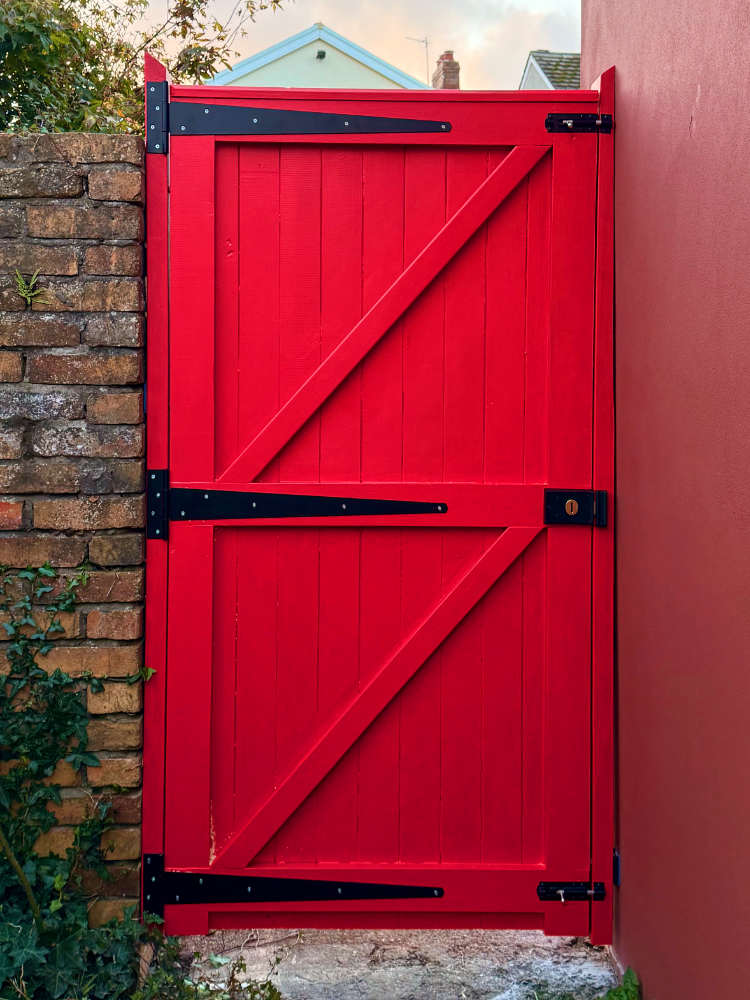
So, paint number three! This was an expensive one, a covers-everything chalk style paint. I opened the can and good grief that's bright. Wow. OK. The gods decreed the gate is to be neon. I'm fine with that.
So, once the gate was finally painted I needed to get it on the wall. Actually to do the thing. Because I'd never done it before I was reading stuff by people who do this for a living, even watching video tutorials. OK, I think I got it. It's easy, straightforward! Just don't let it see the fear in your eyes.
I had a plan, I laid things out, worked out what needed to be drilled and when, and got going.
It was all fine!
Mostly. Just two things came up.
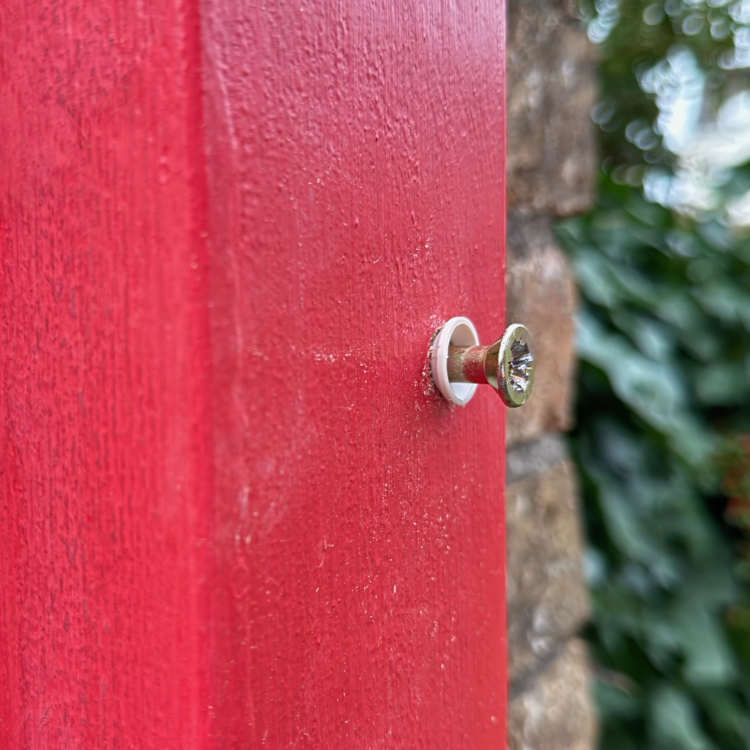
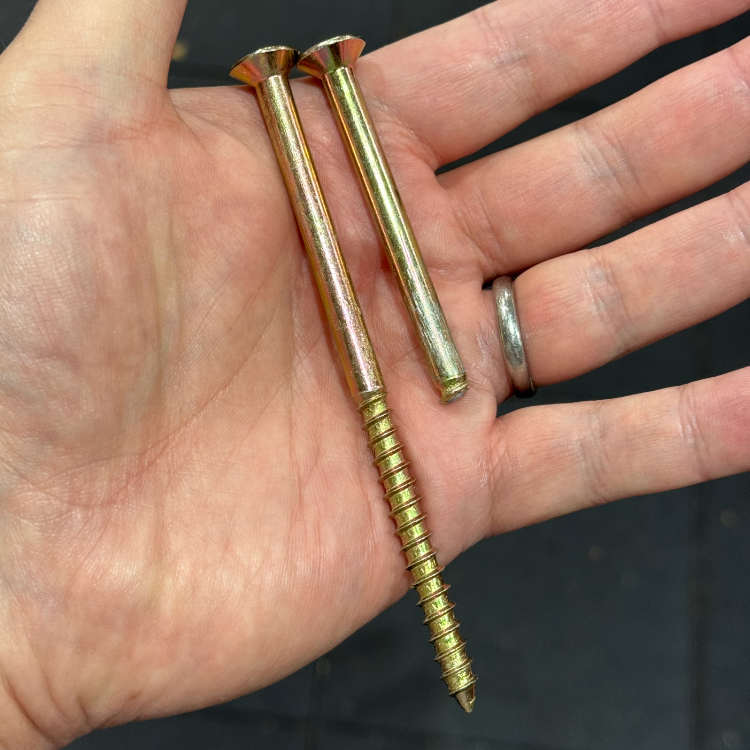
The first thing was the fixings. I was attaching the posts with frame fixings. They're really long screws with really long rawl plugs. I got the recommended 10mm ones. It said on the pack to use a 10mm masonry bit. OK. I have that. I drilled the holes (noisy! I hate power tools). So. Drilled. Rawl plug in. All fine. Screw the screw in. Oof. It's a bit stiff. OK, I guess it's supposed to be. But then… it goes loose.
Now, I'm annoyed that with all the right sized screws and holes and everything it just didn't work. But I'm also quite impressed with myself for being able to apply enough force with a manual screwdriver to break a metal screw.
Now what? There's half a screw using up one of the holes I've drilled, I don't want my carefully cut and painted gateposts and walls turned into swiss cheese.
I ordered some 8mm frame fixings. I used the 8mm screws with the 10mm rawl plugs and holes, and it was reassuringly tight but not impossible to screw it in… and yes there are too many lewd-adjacent words and phrases going on with this. I'm already dealing with the bright red opening to my back passage being a smashed-in mess and now I'm screwing the end off of things. Sigh.
The second thing was something we knew about: the walls are not entirely vertical. To get the gate posts vertical and leave enough room for the gate itself I needed to remove a chunk from the gate post. Too much of a shallow cut for a saw, too much to remove for a sander, so I went at it with a manual hand plane. That was good exercise.
But there it is! A finished workshop, a finished gate! All done. It only took a year.
I am so pleased with it all it's ridiculous, but it was so much work, so incredibly time consuming and frustrating and I got incredibly tired and bored of it all. Finishing with the gate was perfectly symbolic, I could close it and 'get closure', literally.
